Cybersecurity Home Lab
Building a Virtual Security Home Lab: Part 7 - Active Directory Lab Setup - Part 2
A step-by-step guide for building your very own Cybersecurity Home Lab using VirtualBox
Banner Background by logturnal on Freepik
Hacker Image by catalyststuff on Freepik
In the previous module, we installed Windows Server 2019, installed AD Domain Services, configured DHCP and set up a DNS Forwarder. In this module, we will continue building out the AD Lab by completing the Domain Controller setup and adding devices to the AD environment.
Windows Server 2019 Setup
Domain Configuration
Certificate Service Installation
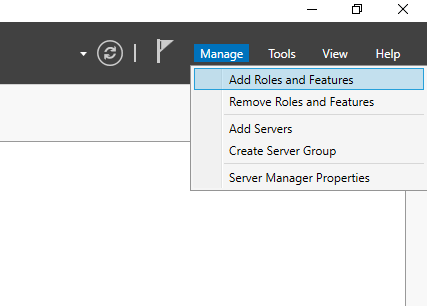
Select Manage from the top right corner of Server Manager and then select "Add Roles and Features".
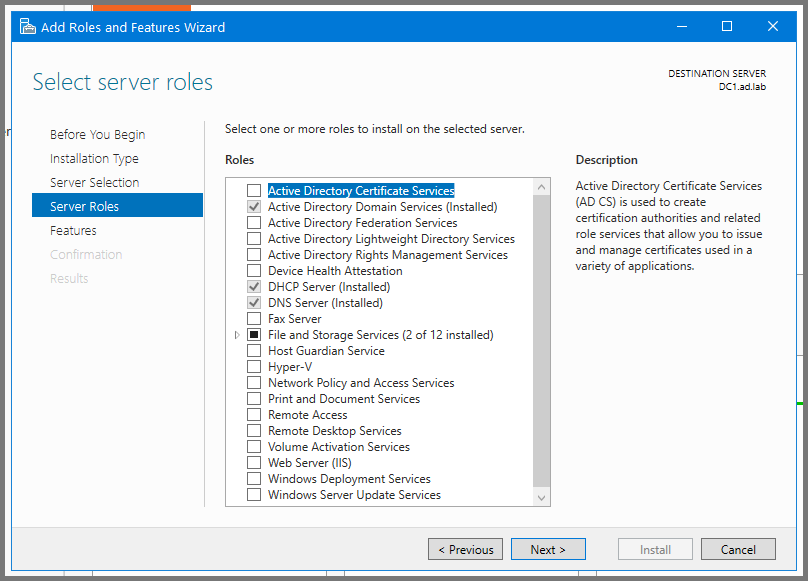
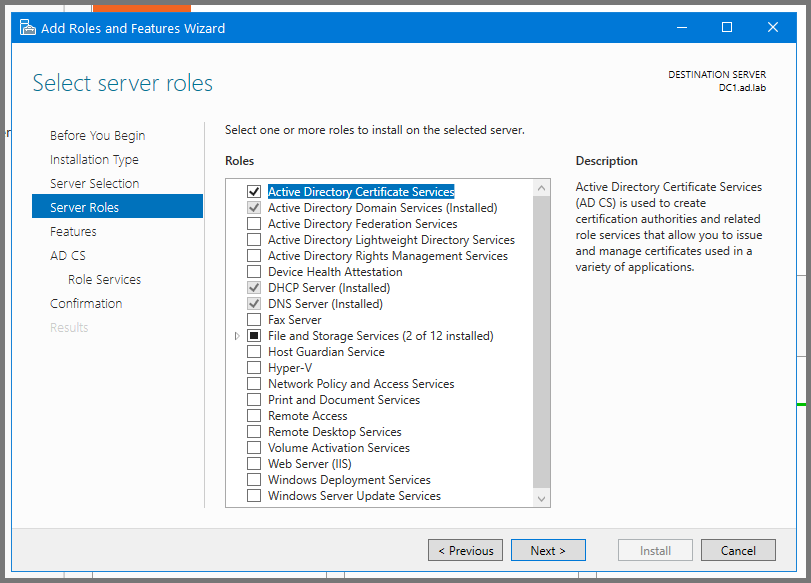
Click Next till you reach the Server Roles page. Enable "Active Directory Certificate Services".
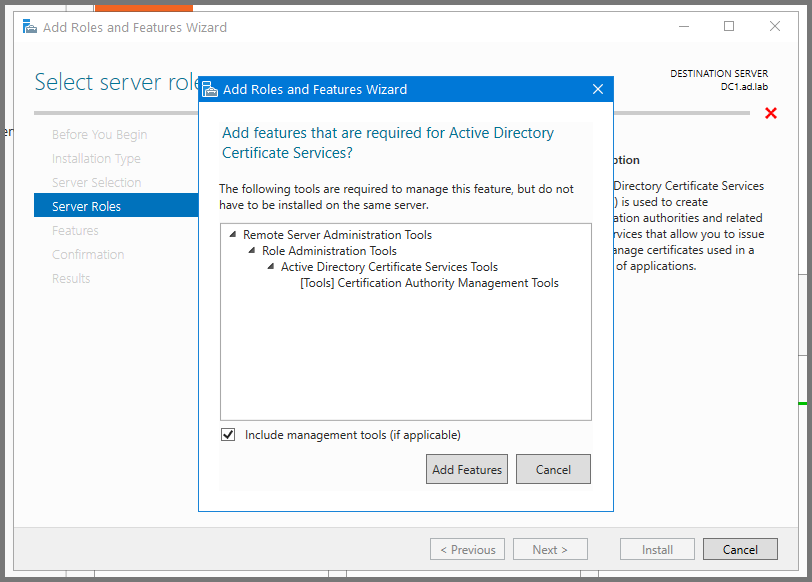
Click on Add Features.
Click on Next to continue.
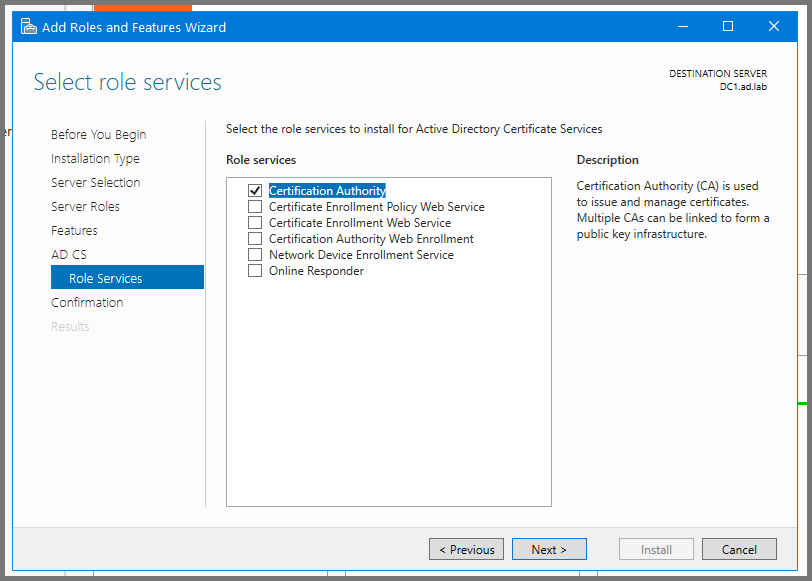
Click Next till you reach the Role Services Page. Enable "Certificate Authority". Click on Next to continue.
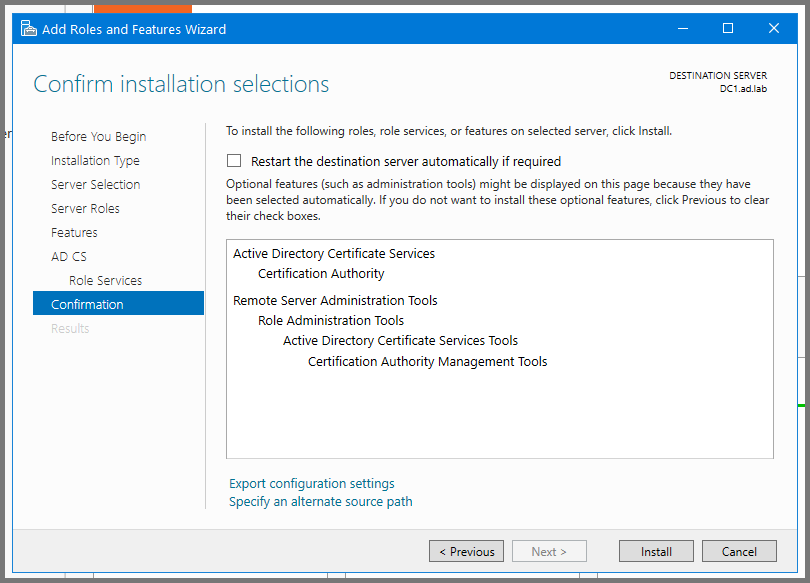
Click on Install to start the setup.
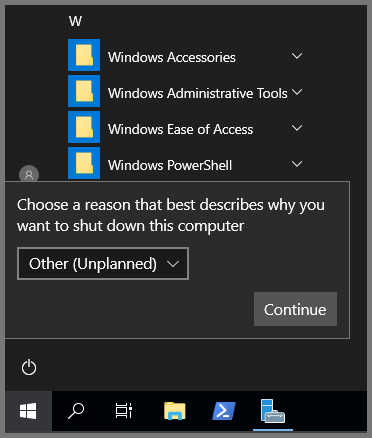
After the installation is complete the server has to be restarted. Open the Start Menu, click on the Power icon and then select Restart.
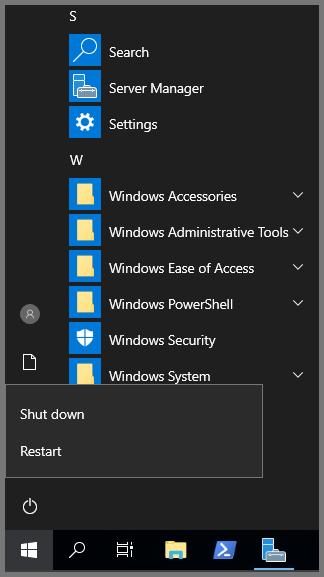
Click on Continue to restart the system.
Certificate Service Configuration
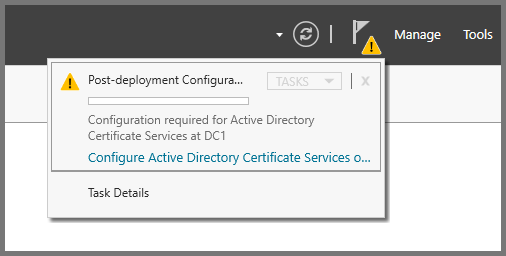
After the restart once Server Manager loads. Click on the Flag icon on the top right side and select “Configure Active Directory Certificate Services”
Click on Next.

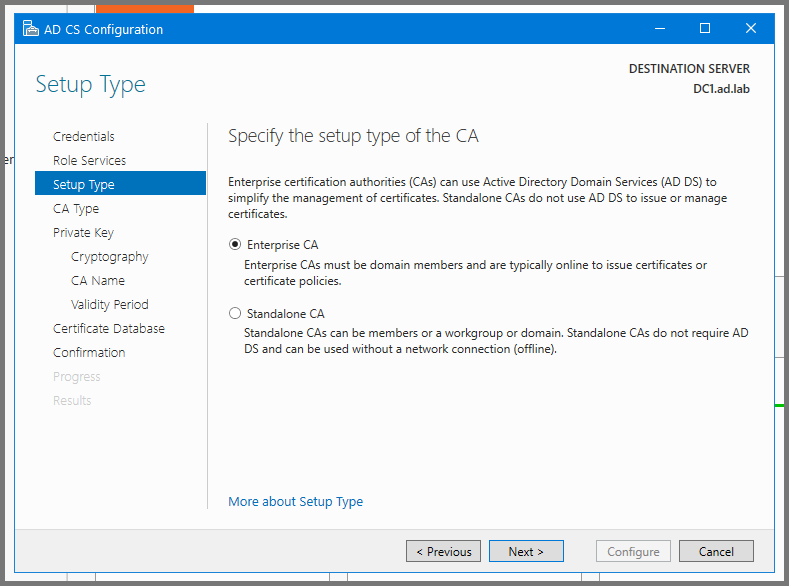
Enable “Certification Authority” and click on Next.

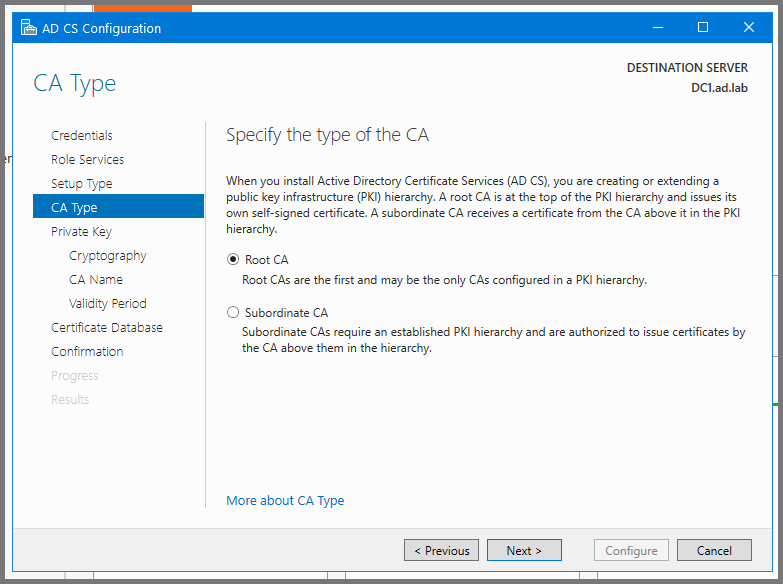
Click on Next.
Click on Next.
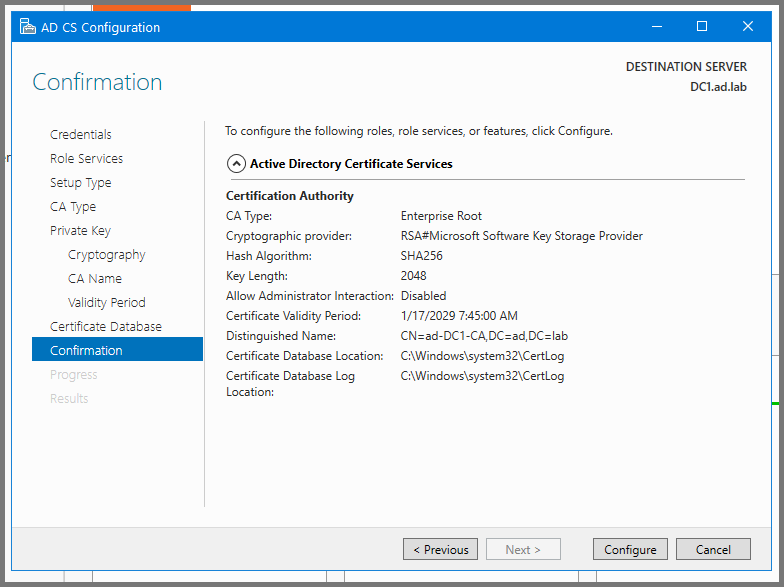
Click on Next till you reach the Confirmation page. Click on Configure to save the changes.
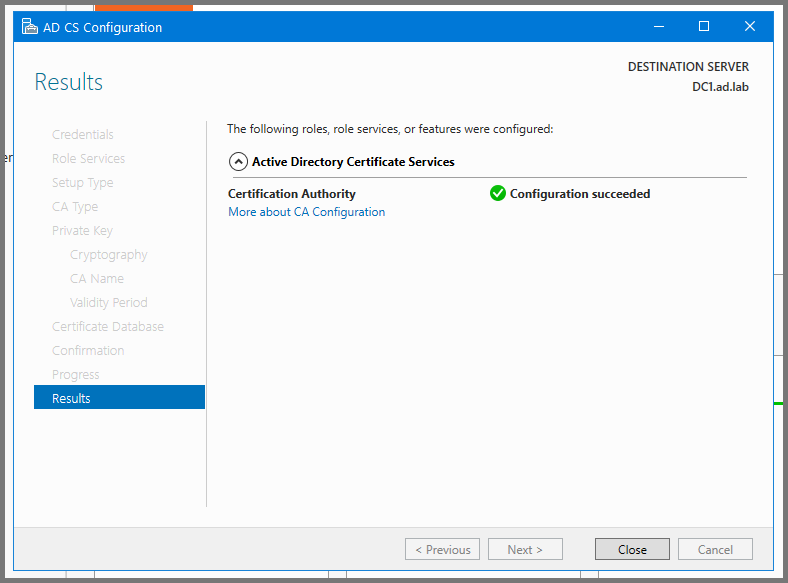
Click on Close.
User Configuration
AD Admin Setup
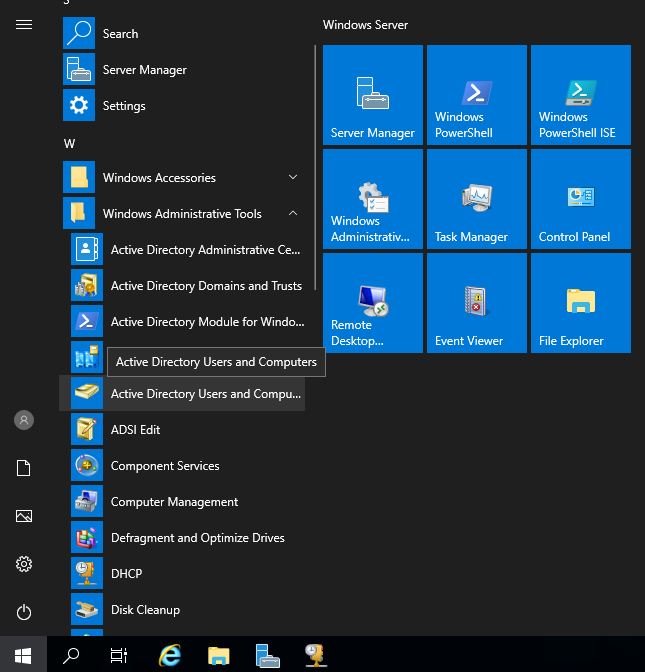
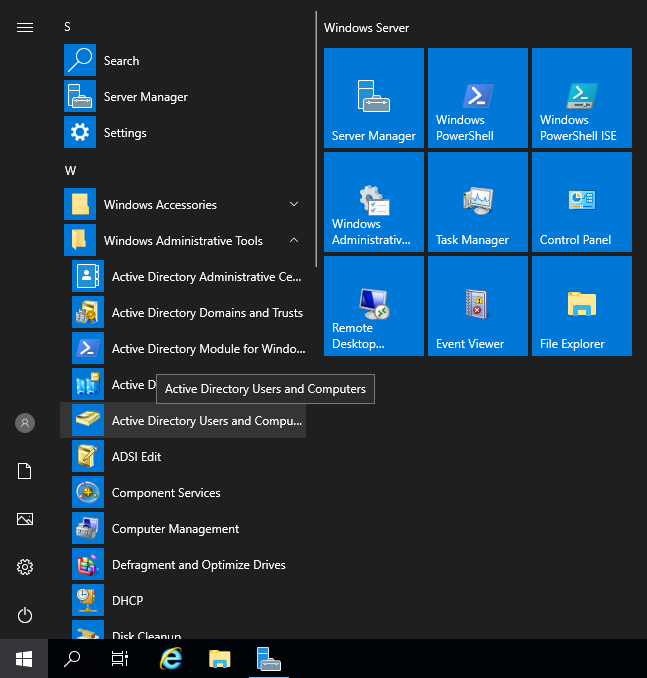
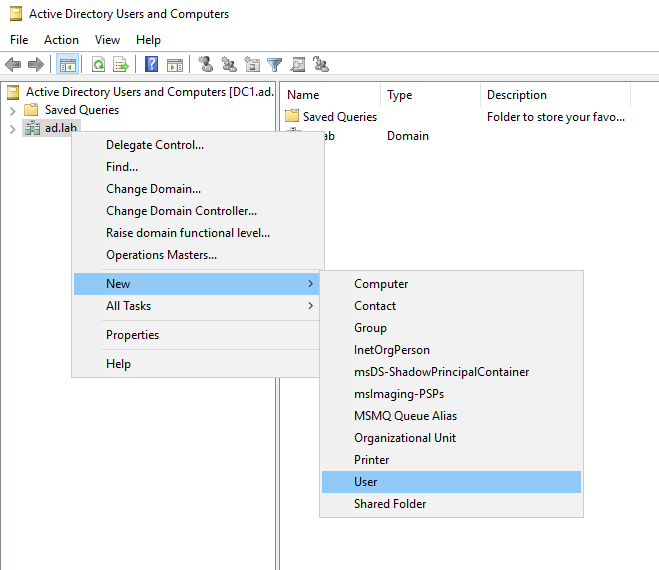
Open the Start menu click on “Windows Administrative Tools” and then select Active Directory Users and Computers.
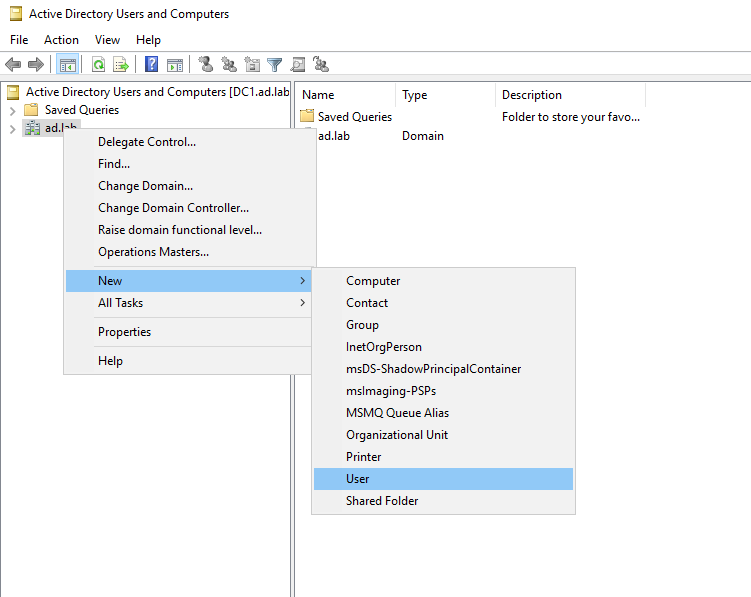
Right-click on the domain name (in my case ad.lab) in the sidebar. Then select New -> User.
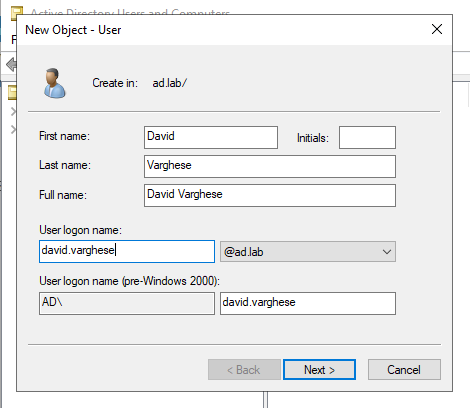
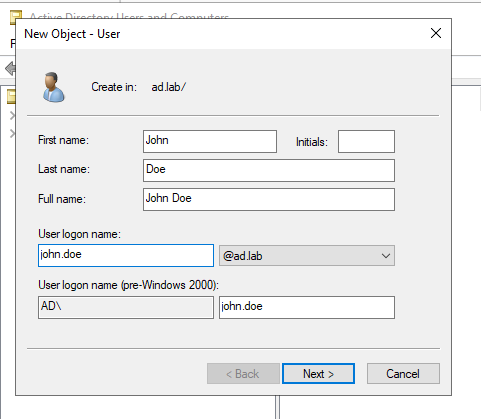
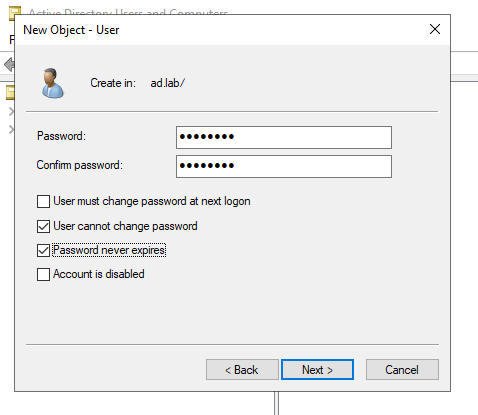
Enter the First Name, Last Name and User logon name for the new user. This user will be the Administrator for the Domain Controller.
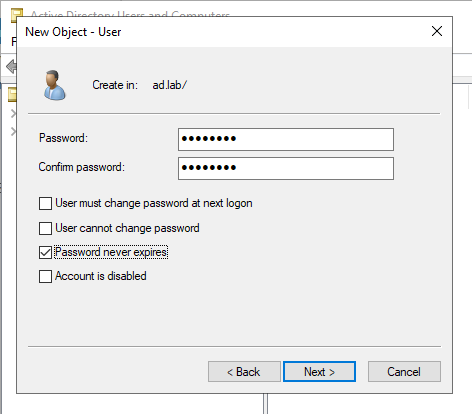
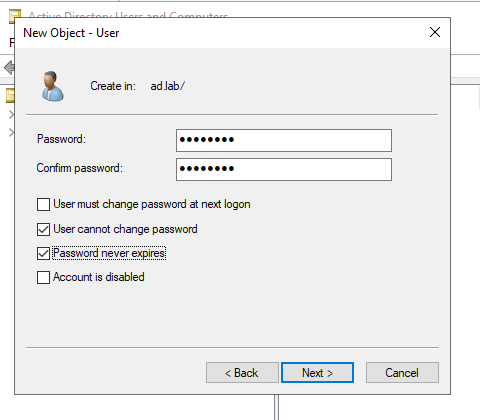
Enter the Password for the user. Uncheck all options leaving “Password never expires”. Click on Next to create the user.
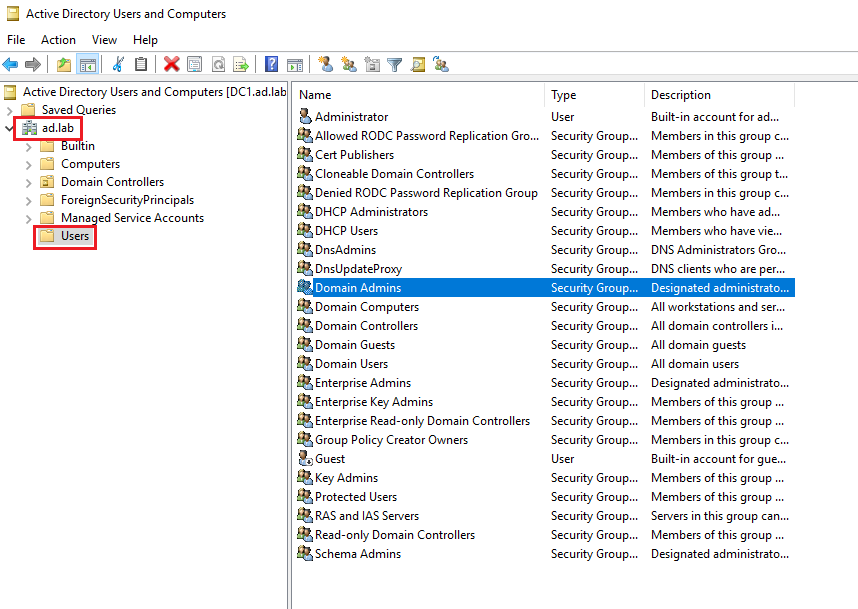
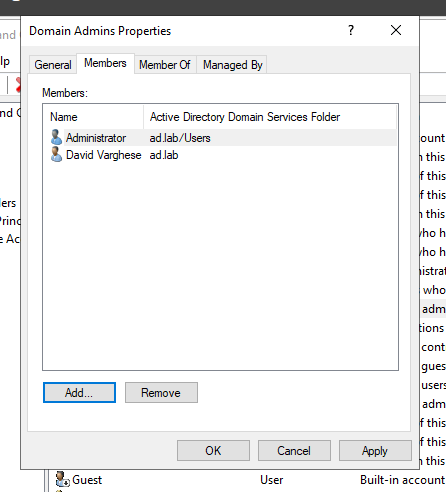
Expand the dropdown on the domain name from the sidebar. Click on Users. Then double-click on "Domain Admins".
Go to Members -> Add.

Enter the name of the user and check on Check Names.
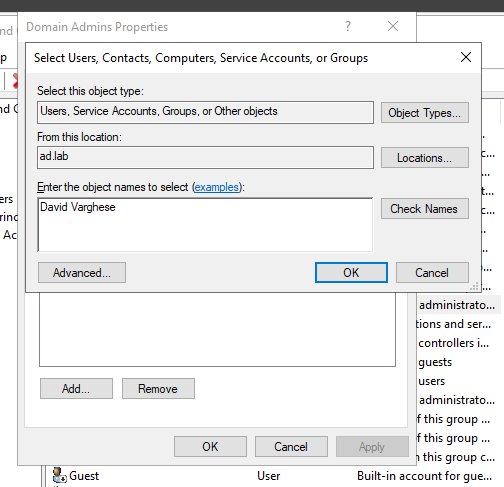
Click on OK.

Click on Apply then OK to persist the changes.
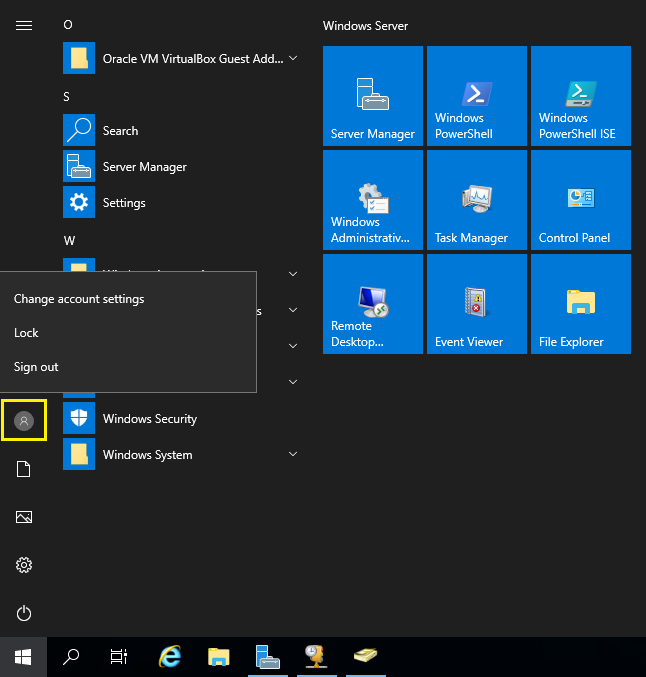
Open the Start menu and then click on the user logo and then select Sign out.
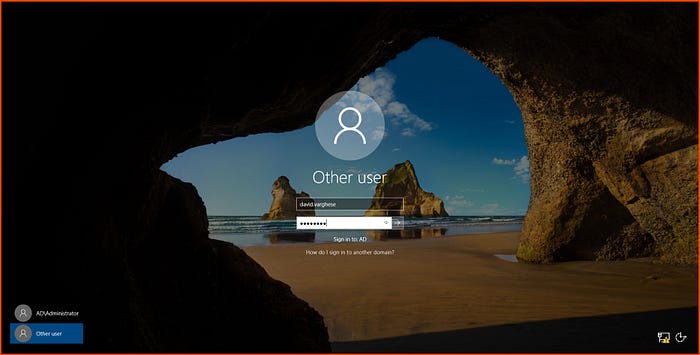
From the login screen select “Other user”. Then enter the login name and password that was configured for your domain administrator.
AD User 1 Setup
Open the Start menu. Select “Windows Administrative Tools” and then choose Active Directory Users and Computers.
Right-click on the domain name from the sidebar. Select New -> User.
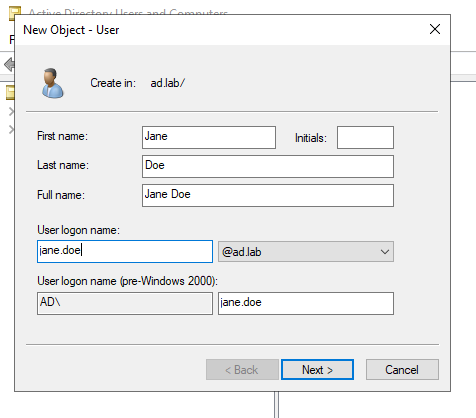
Enter the details for the user.
Give the user a password. Check the “User cannot change password” and “Password never expires” options. Click Next to create a user.
AD User 2 Setup
Follow the same steps as above to create a second AD User.
Making AD Lab Exploitable
To make the Active Directory Lab vulnerable we need to change some settings. We will use a PowerShell script and change so and Group Policies to achieve the desired result.
You can skip this section and continue from the “Windows 10 Enterprise VM1 Setup” step if you do not plan to make your Active Directory Lab vulnerable to attacks
Running Vulnerable AD Script
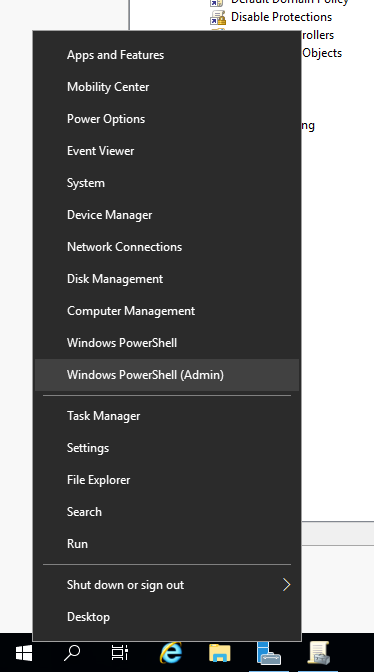
Right-click on the Start menu and select Windows PowerShell (Admin).
Run the following command:
# Allow Execution of Scripts
Set-ExecutionPolicy -ExecutionPolicy Bypass -Force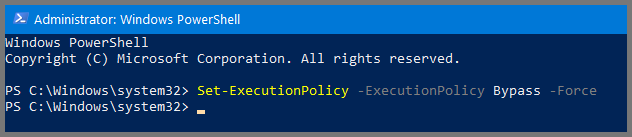
# Download and Execute Script
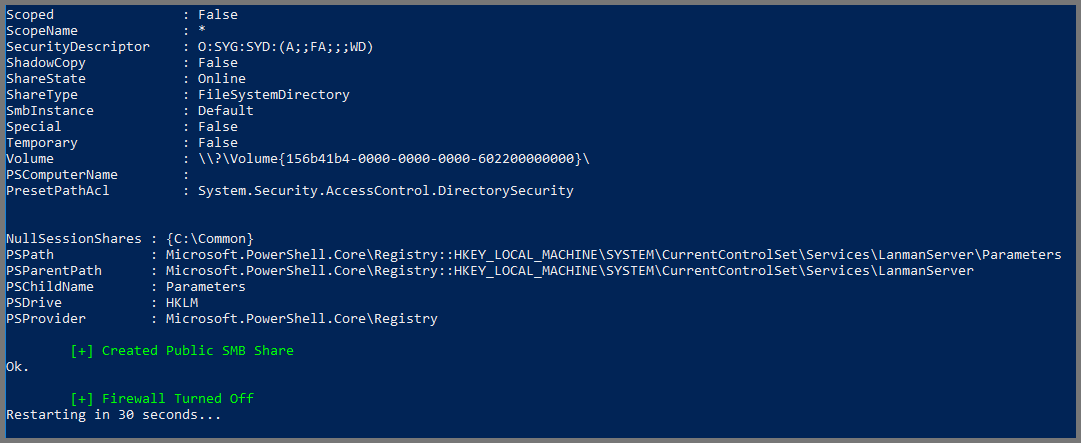
[System.Net.WebClient]::new().DownloadString('https://raw.githubusercontent.com/WaterExecution/vulnerable-AD-plus/master/vulnadplus.ps1') -replace 'change\.me', 'ad.lab' | Invoke-ExpressionReplace
ad.labwith the name you have used for your Active Directory Domain before running the above command.
The above command constants of the following steps: [System.Net.WebClient]::new().DownloadString(): Downloads the Script-replace: Change string present in the scriptInvoke-Expression: Execute the Script

Once the script reaches the end. It will wait for 30 seconds and then restart the system.
Group Policy Configuration
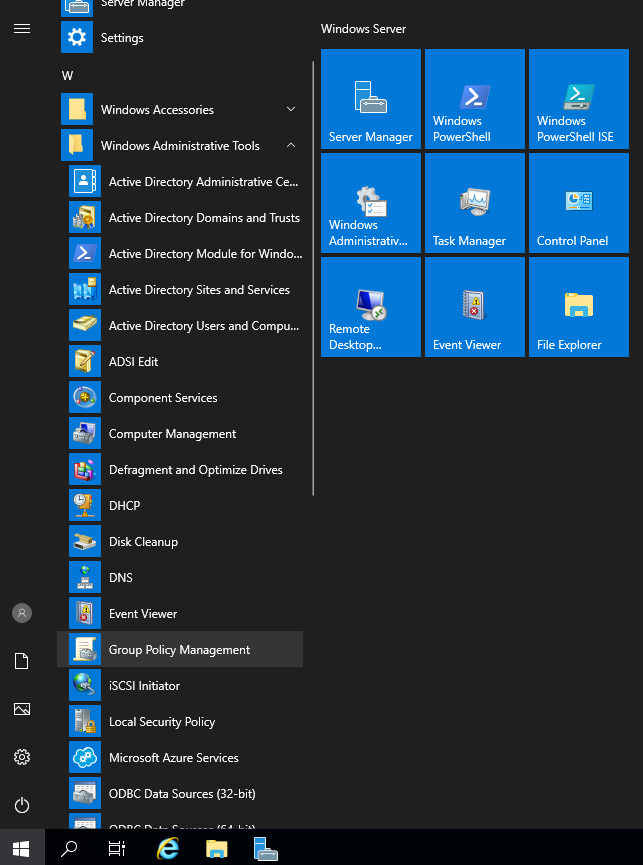
After the system restarts open the Start menu and click on “Windows Administrative Tools” then choose Group Policy Management.
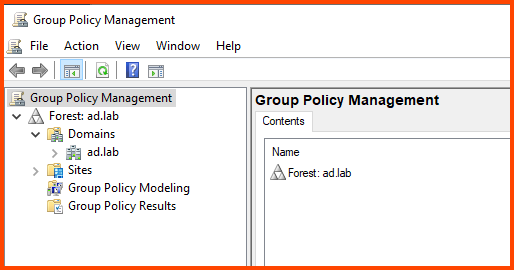
Expand “Forest” and then expand “Domains”.
Disable Windows Defender and Firewall
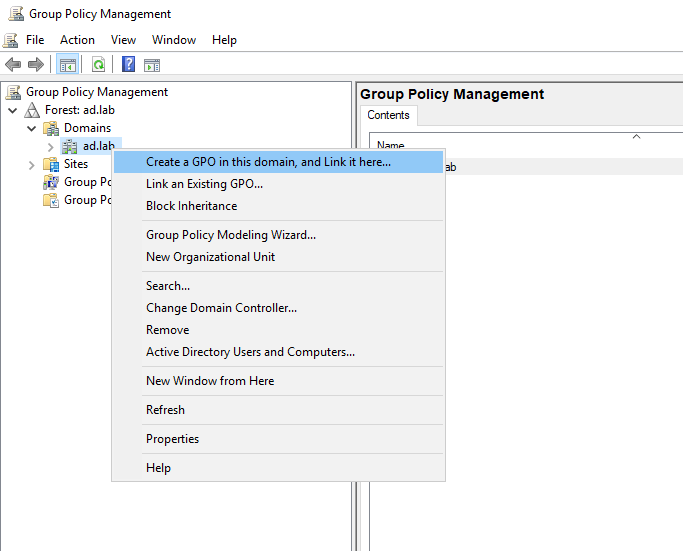
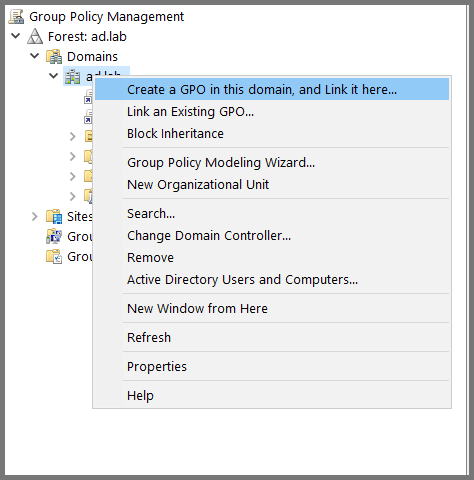
Right-click on the domain name. Select “Create a GPO in the domain and link here”.
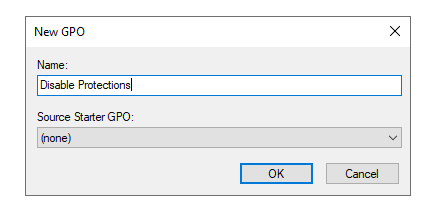
Give the GPO the name Disable Protections.
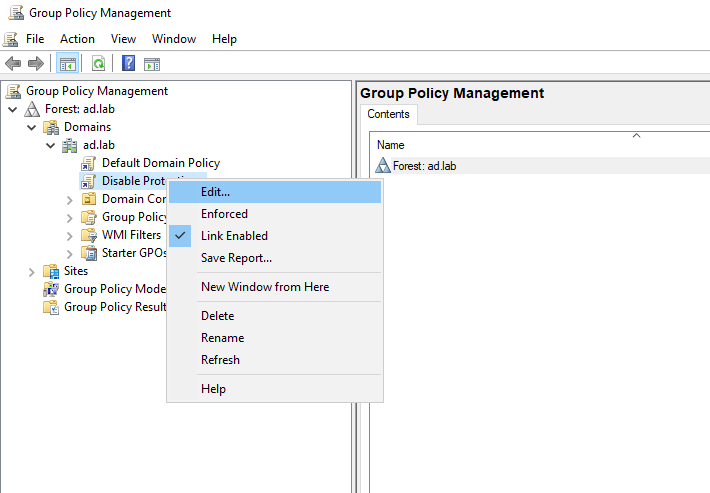
Expand the domain name. Right-click on “Disable Protections” and choose Edit.
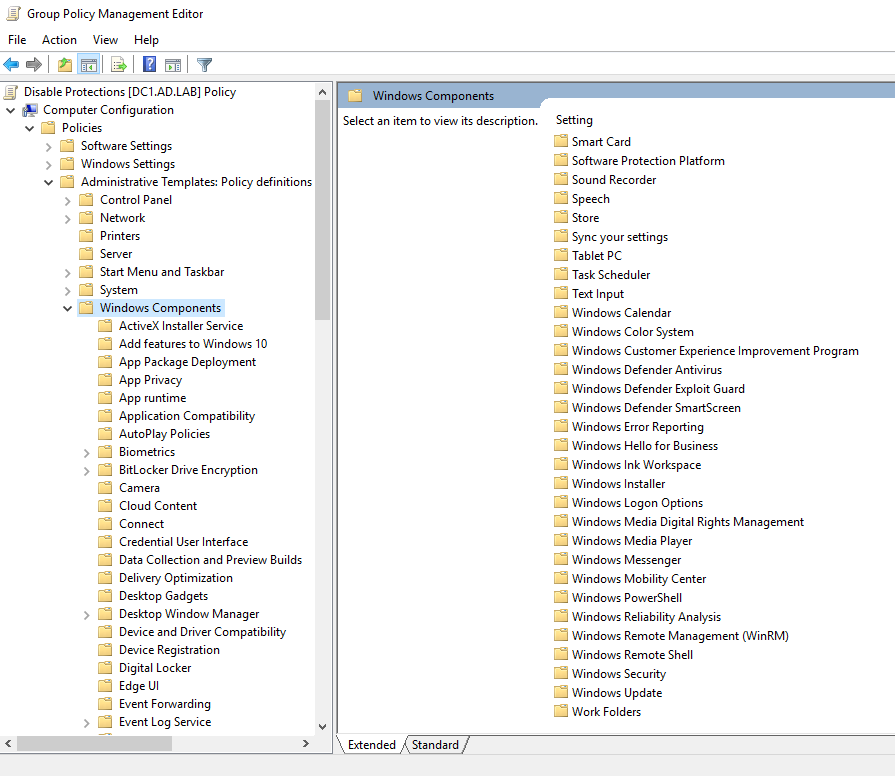
This will open the Group Policy Management Editor. From the sidebar go to the following folder: Computer Configuration -> Policies -> Administrative Templates -> Windows Components -> Windows Defender Antivirus.
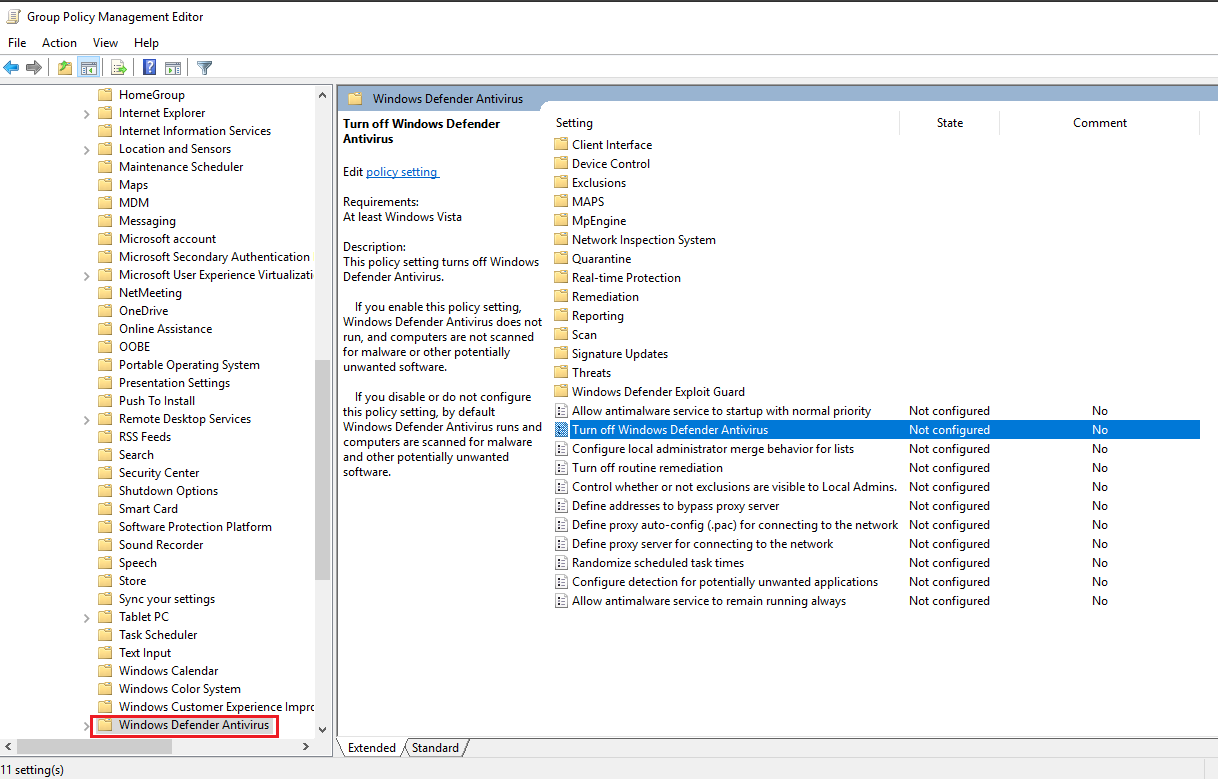
Select “Windows Defender Antivirus”. From the right side select “Turn off Windows Defender Antivirus” and click on Edit policy setting.
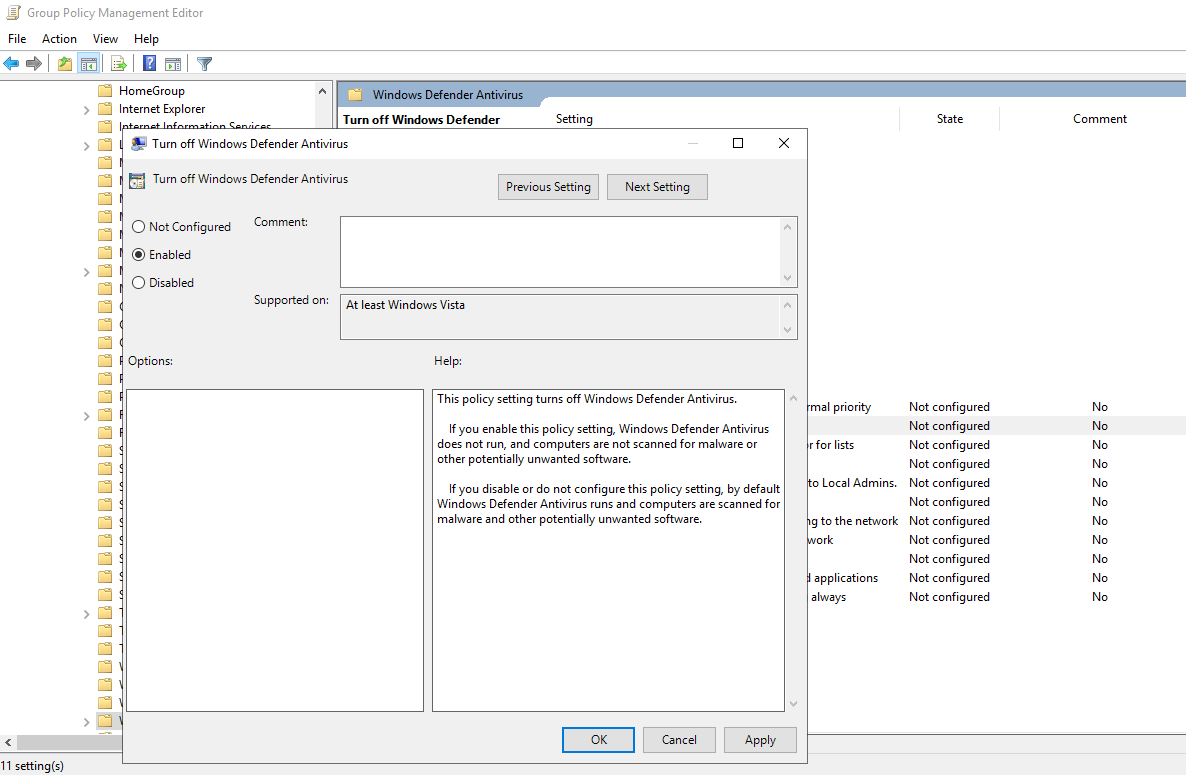
Set it to Enabled. Click on Apply then OK to save the changes.
Double-click on Real-time Protection.
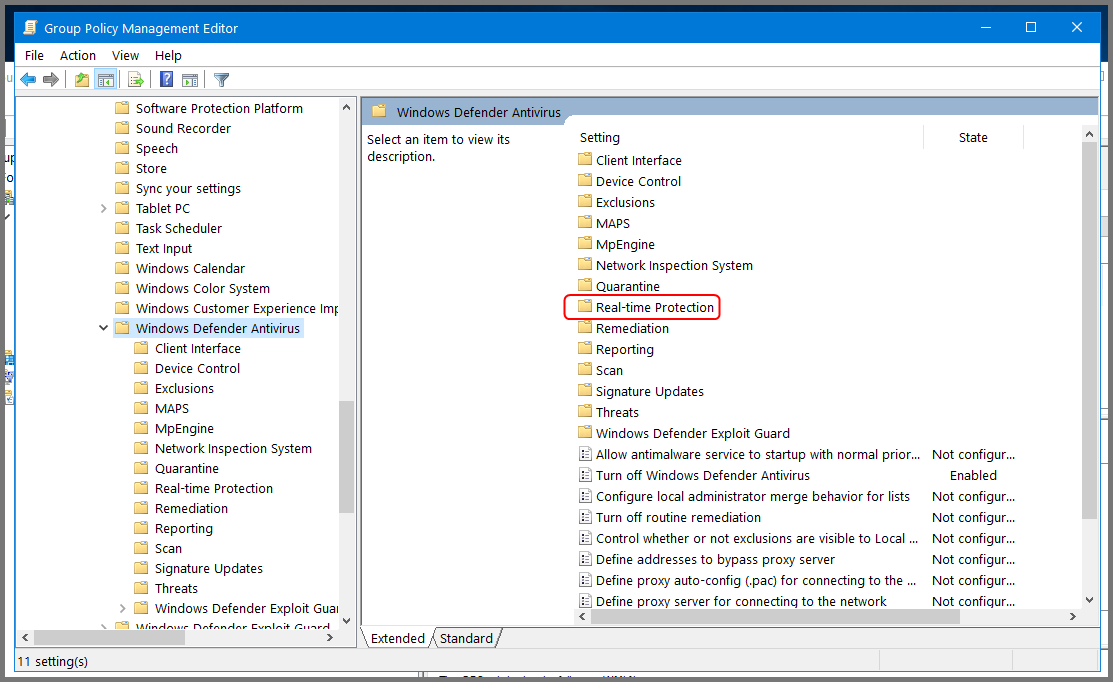
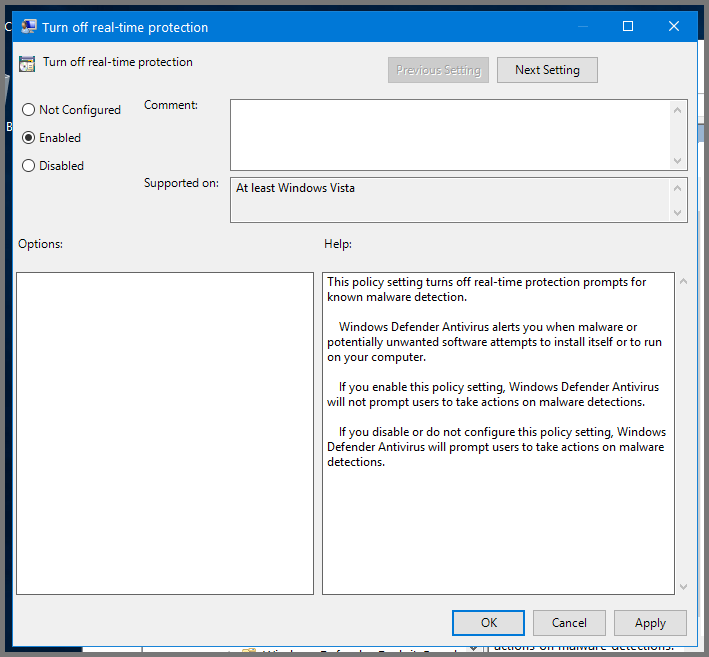
Select “Turn off real-time protection” and then click on “Edit policy settings”
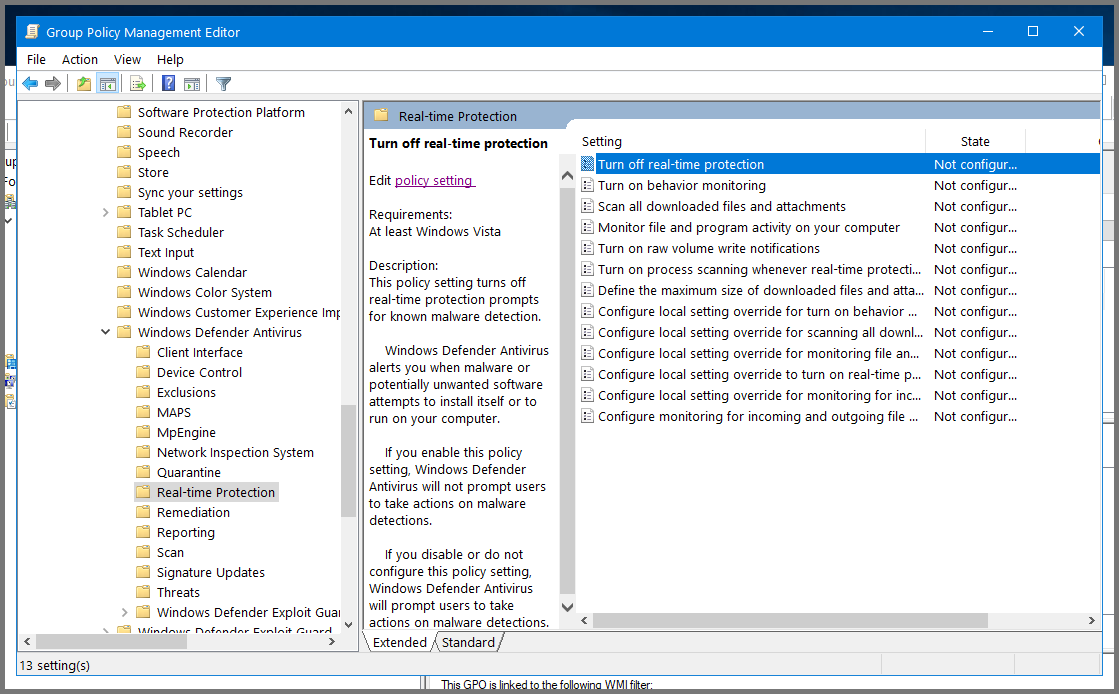
Set it to Enabled. Click on Apply then OK to save the changes.
Expand the sidebar folders to the following: Computer Configuration -> Policies -> Administrative Templates -> Network -> Network Connections -> Windows Defender Firewall -> Domain Profile.
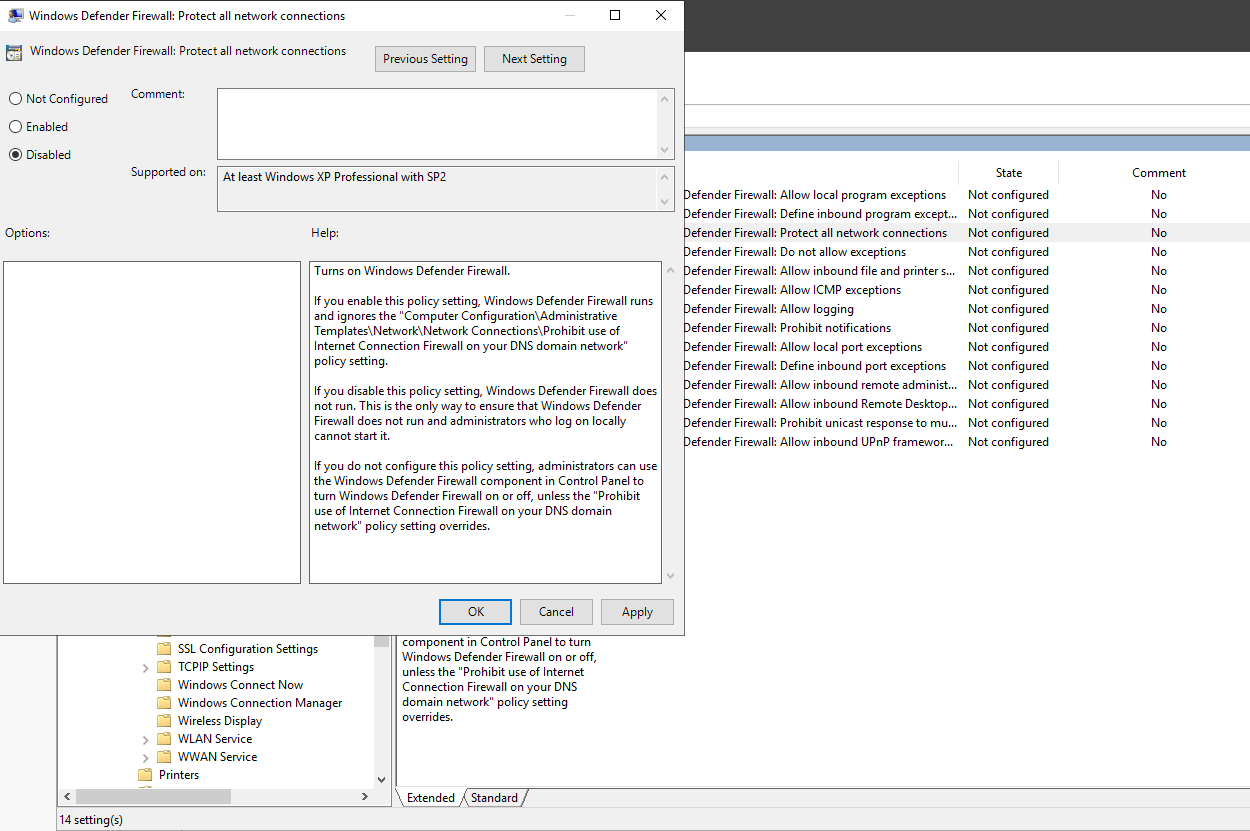
Select “Windows Defender Firewall: Protect all network connections”. Click on “Edit policy settings”.
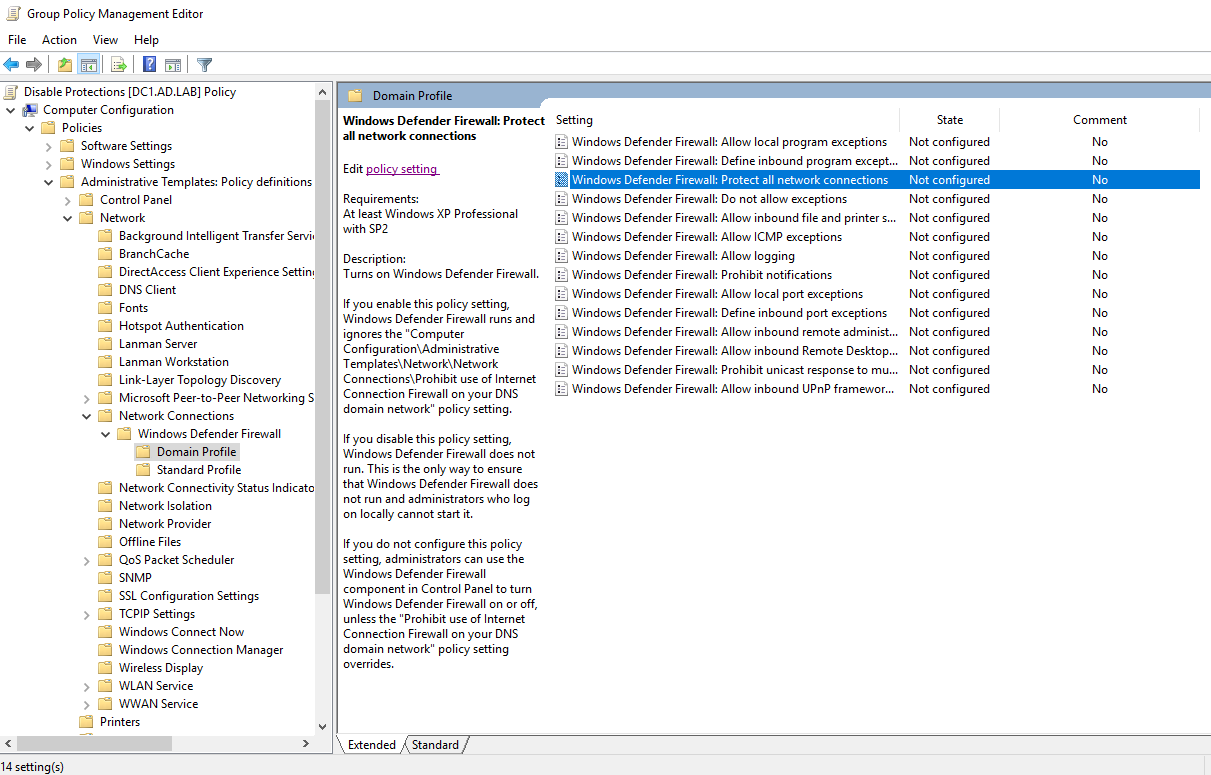
Set it to Disabled. Click on Apply then OK to save the changes.
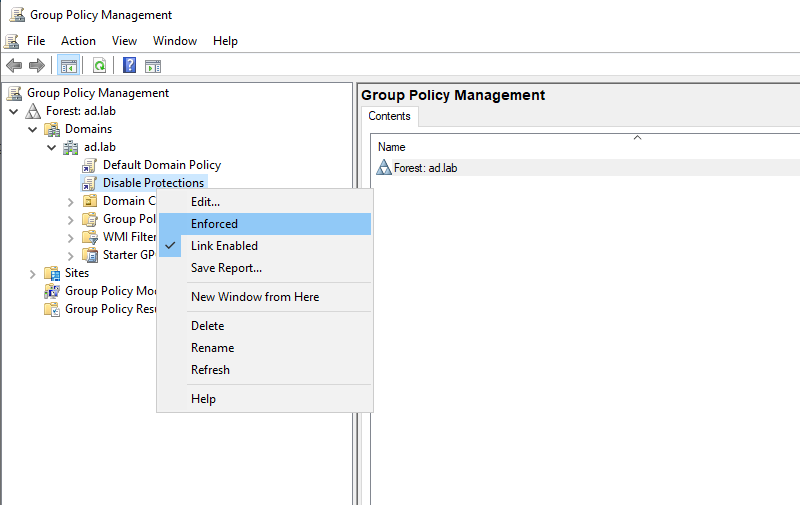
Close Group Policy Management Editor. From the sidebar of Group Policy Management right-click on “Disable Protections” and choose “Enforced”.
Enable Remote Login for Local Admins
Right-click on the domain name. Select “Create a GPO in the domain and link here”.
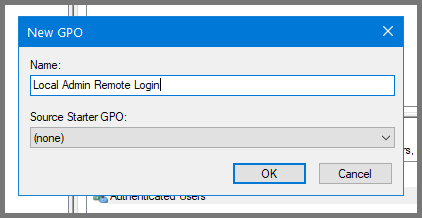
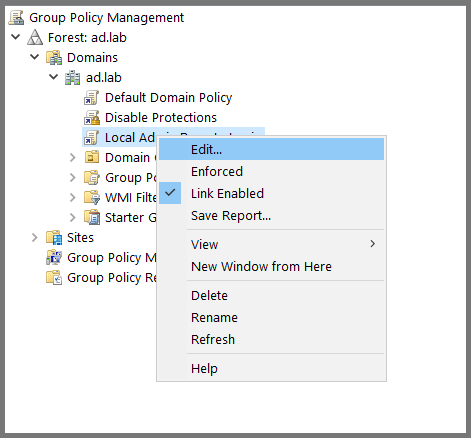
Give the GPO the name Local Admin Remote Login.
Right-click on “Local Admin Remote Login” and choose Edit.
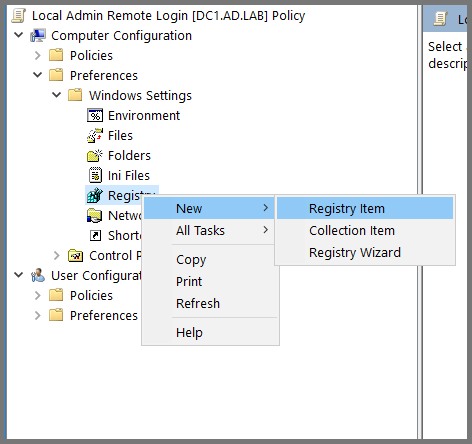
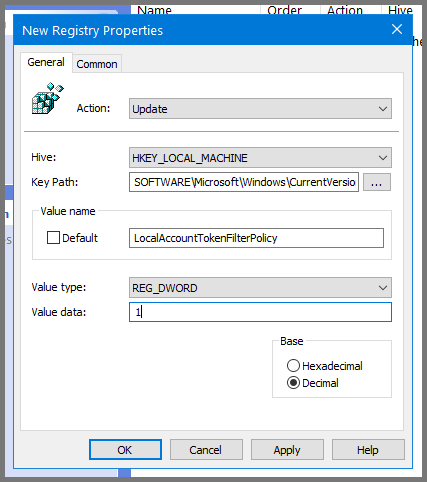
Using the sidebar descend into Computer Configuration -> Preferences -> Windows Settings -> Registry. Then, right-click Registry and choose New -> Registry Item.
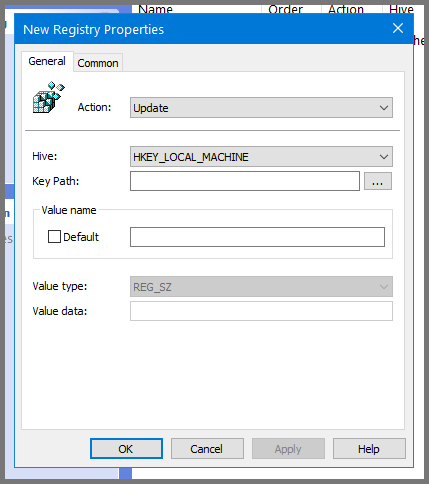
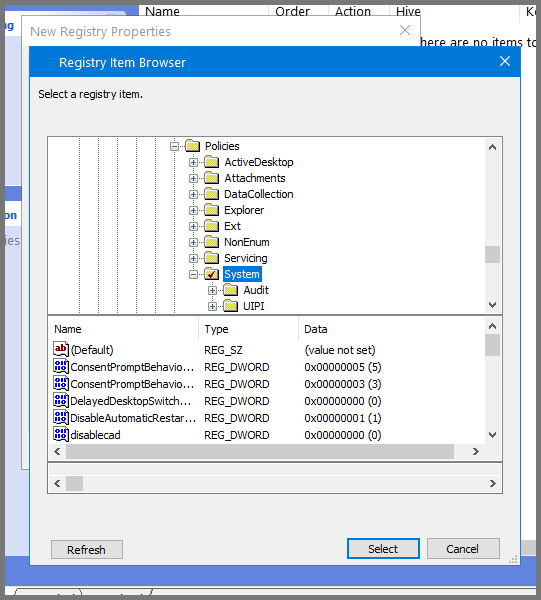
For the Hive field select HKEY_LOCAL_MACHINE. To fill the value in the "Key Path" field click on the ... button.
In the window that opens up navigate to the following directory: SOFTWARE\Microsoft\Windows\CurrentVersion\Policies\System
Enter the following for the remaining fields:
Value name: LocalAccountTokenFilterPolicy
Value type: REG_DWORD
Value data: 1
Click on Apply then OK. Close Group Policy Management Editor.
Enable WinRM Server
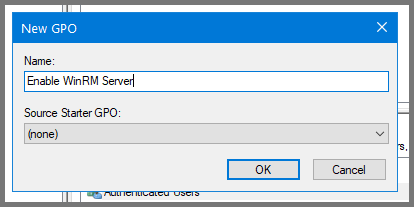
Right-click on the domain name. Select “Create a GPO in the domain and link here”.
Give the GPO the name Enable WinRM Server.
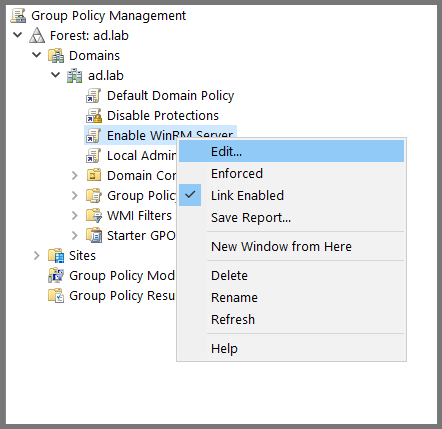
Right-click on “Enable WinRM Server” and choose Edit.
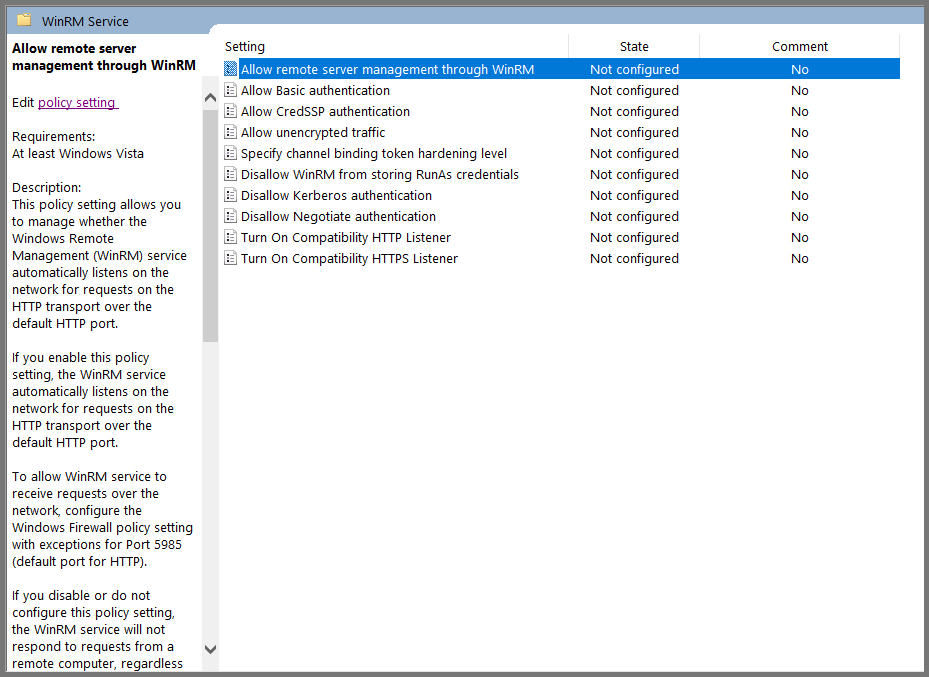
Using the sidebar go to the following folder: Computer Configuration -> Policies -> Administrative Templates -> Windows Components -> Windows Remote Management (WinRM) -> WinRM Service.
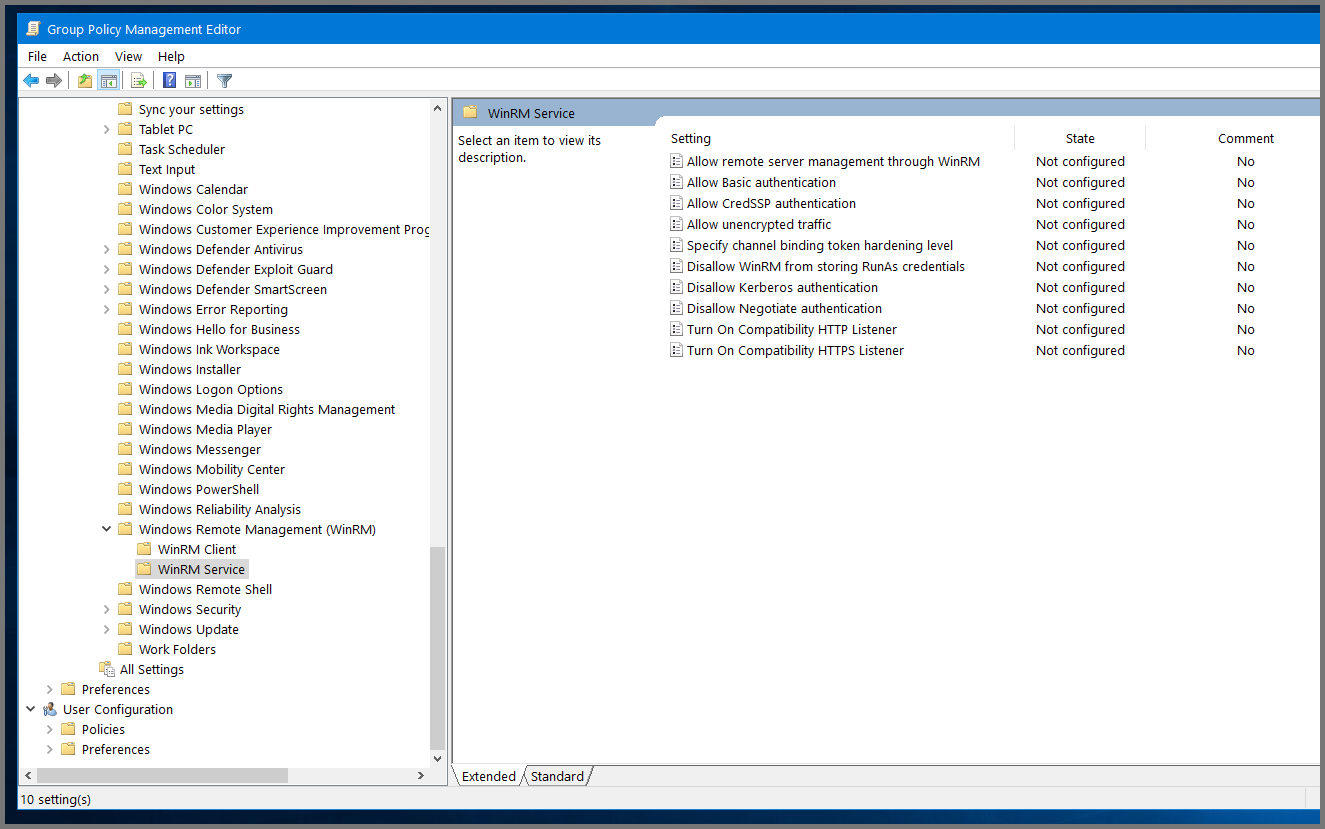
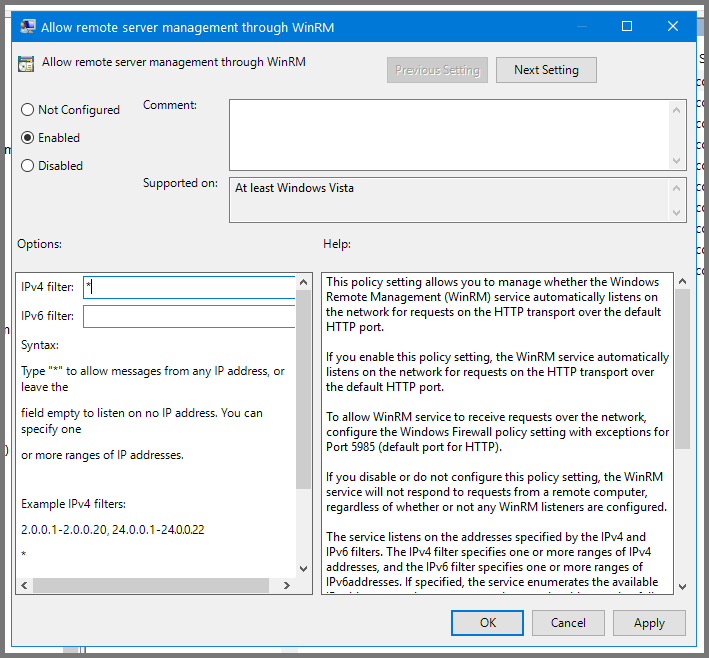
Select “Allow remote server management through WinRM” and then click on “Edit policy settings”.
Set the policy to Enabled. In the IPv4 filter field enter *. Click on Apply then OK.
Select “Allow Basic authentication” and click on “Edit policy settings”.
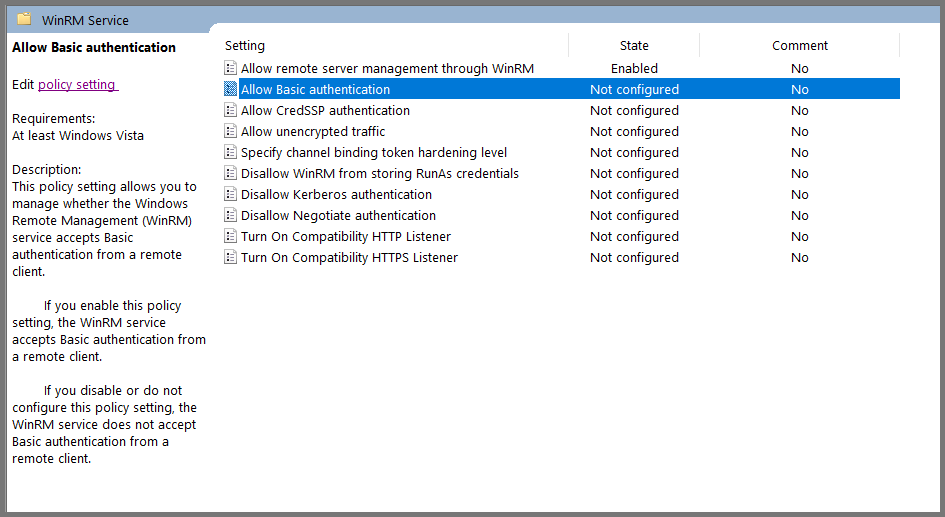
Set the policy to Enabled. Click on Apply and then OK.

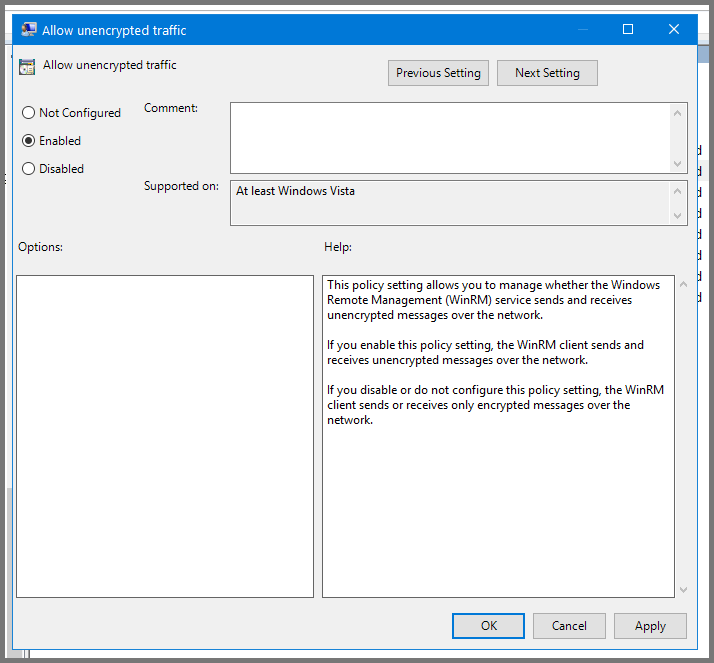
Select “Allow unencrypted traffic” and click on “Edit policy settings”.
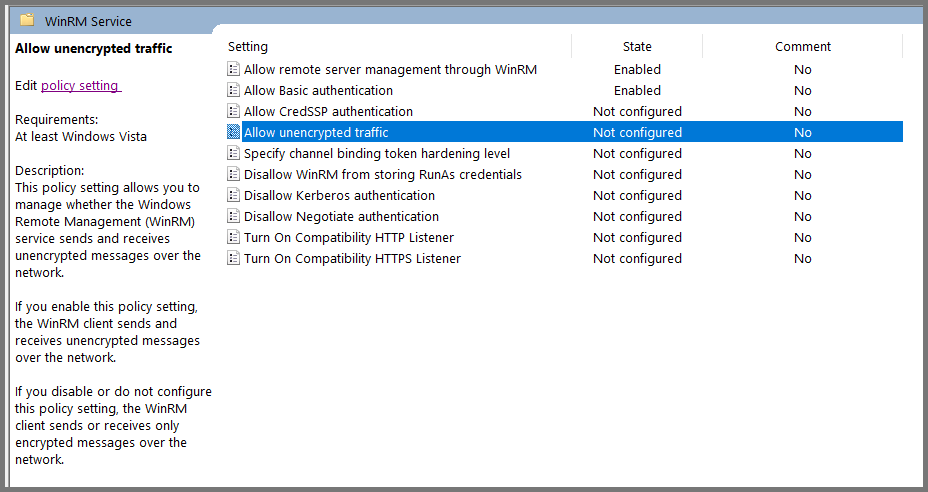
Set the policy to Enabled. Click on Apply then OK.
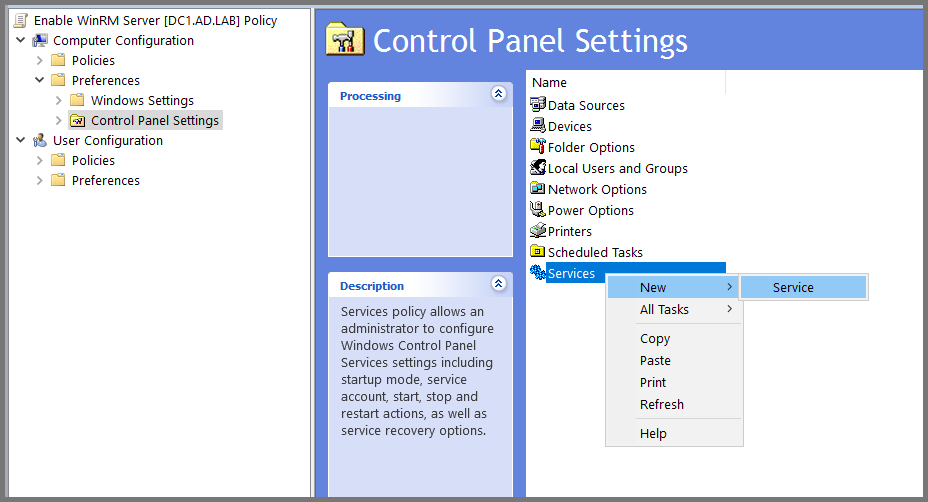
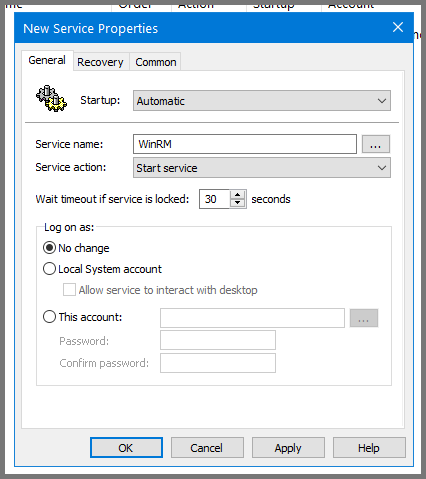
In the sidebar navigate to: Computer Configuration -> Preferences -> Control Panel Settings. Right-click on Services and select New -> Service.
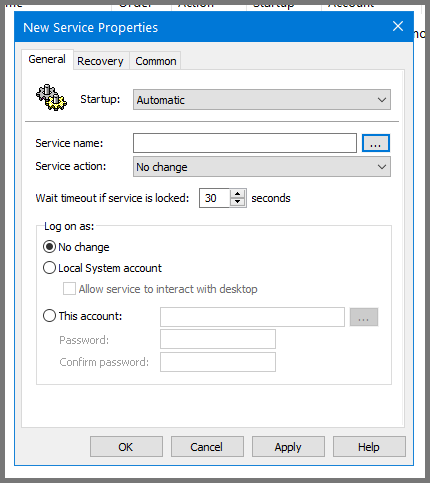
Select Startup to Automatic. Use the ... button to select the Server name.
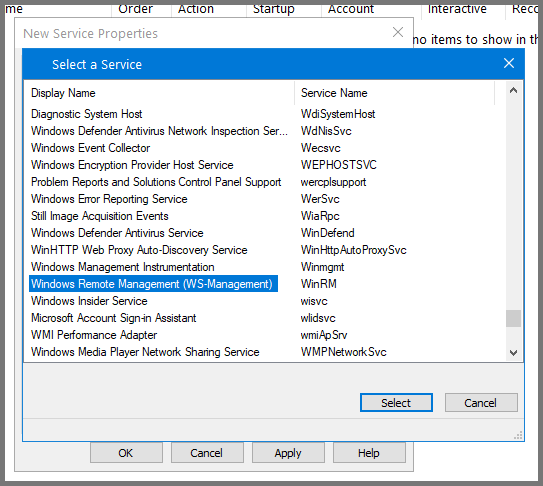
Select “Windows Remote Management (WS-Management)” and click on Select.
For Service action select Start service. Click on Apply then OK.
Using the sidebar navigate to the following location: Computer Configuration -> Policies -> Administrative Templates -> Windows Components -> Windows Remote Shell
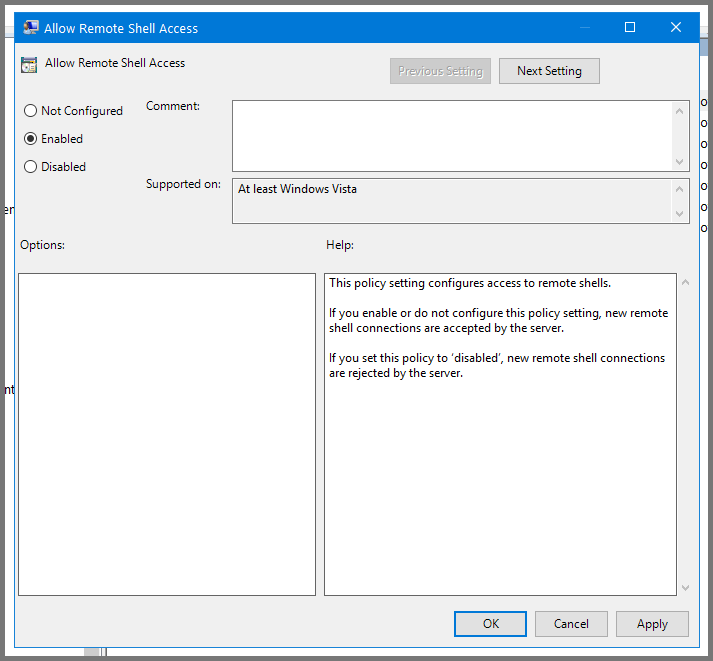
Select “Allow Remote Shell Access” and click on “Edit policy setting”.
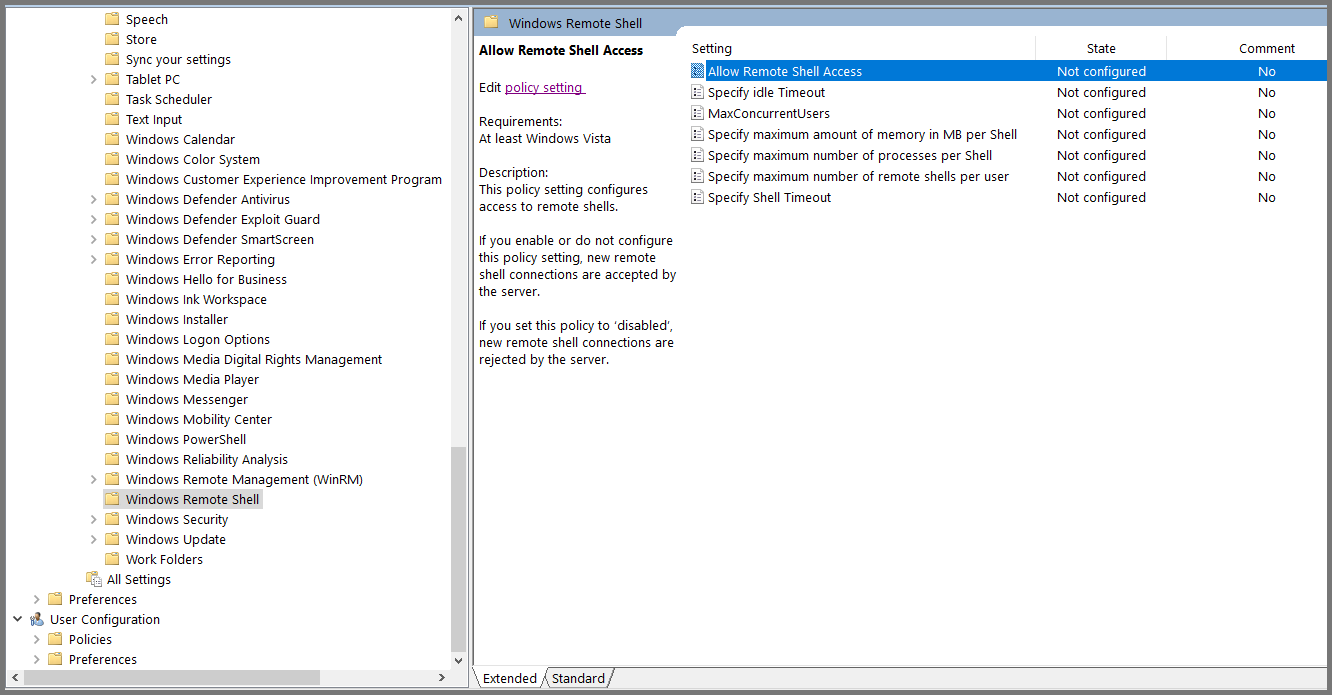
Set the policy to Enabled. Click on Apply then OK. Close the Group Policy Management Editor.
Enable RDP (Remote Desktop Protocol)
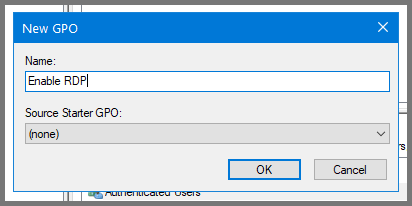
Right-click on the domain name. Select “Create a GPO in the domain and link here”.
Give the GPO the name Enable RDP.
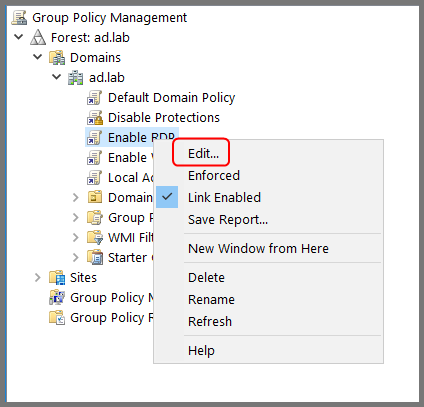
Right-click on “Enable RDP” and select Edit.
Using the sidebar navigate to the following folder: Computer Configuration -> Policies -> Administrative Templates -> Windows Components -> Remote Desktop Services -> Remote Desktop Session Host -> Connections.
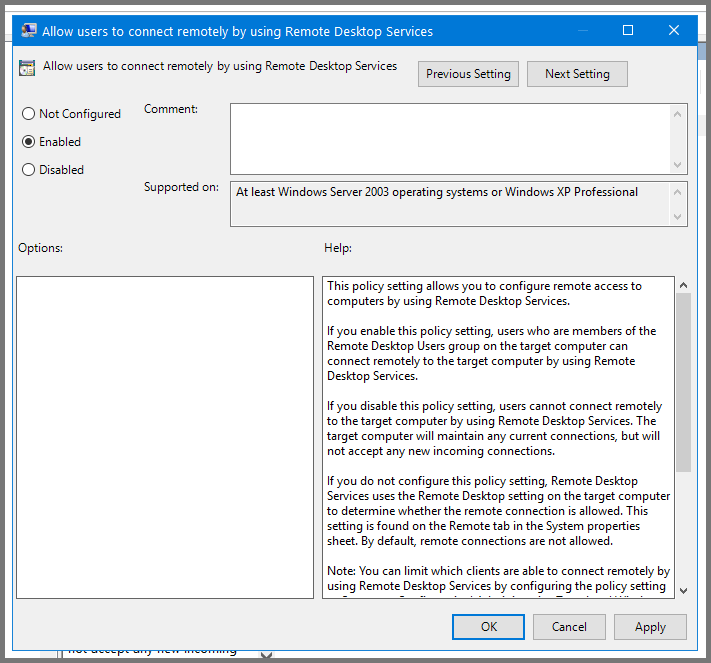
Select “Allow users to connect remotely using Remote Desktop Services” and click on “Edit policy settings”.

Set the policy to Enabled. Click on Apply then OK. Close Group Policy Management Editor.
Enable RPC (Remote Procedure Call)
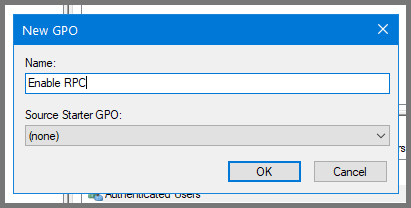
Right-click on the domain name. Select “Create a GPO in the domain and link here”.
Give the GPO the name Enable RPC.
Right-click on “Enable RPC” and select Edit.
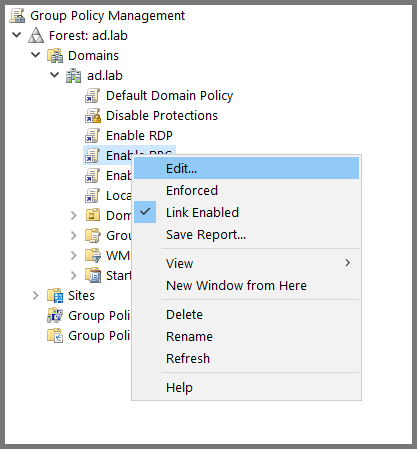
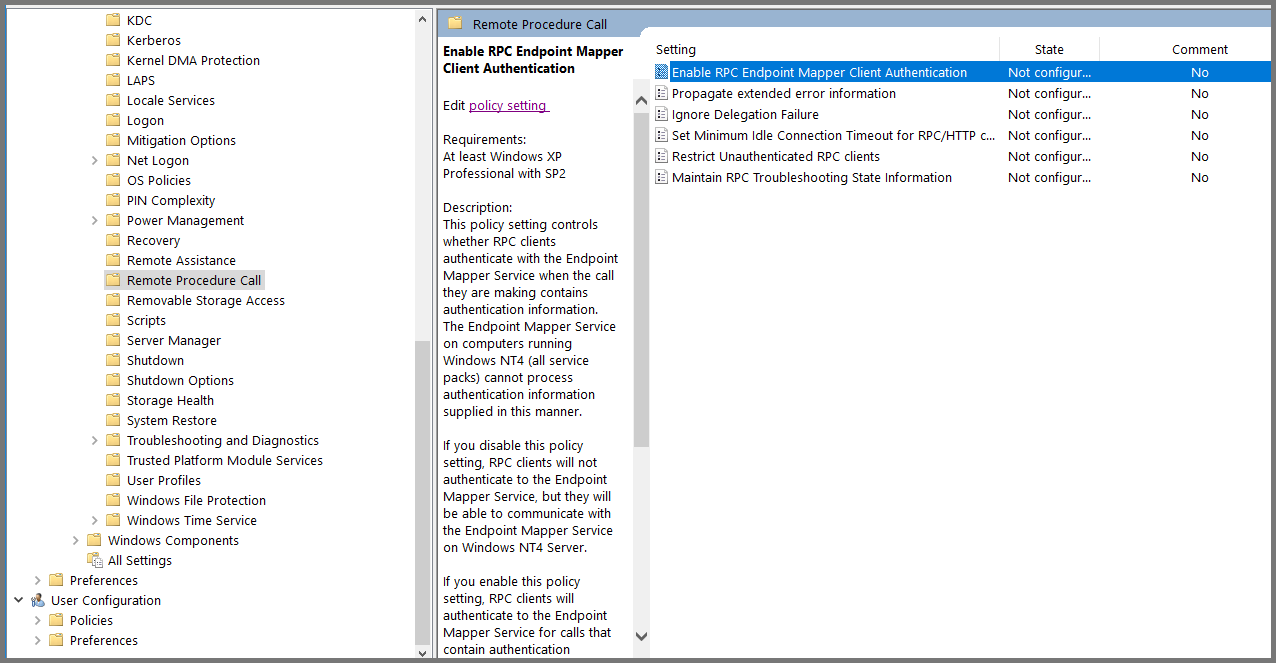
Using the sidebar navigate to the following folder: Computer Configuration -> Administrative Templates -> System -> Remote Procedure Call.
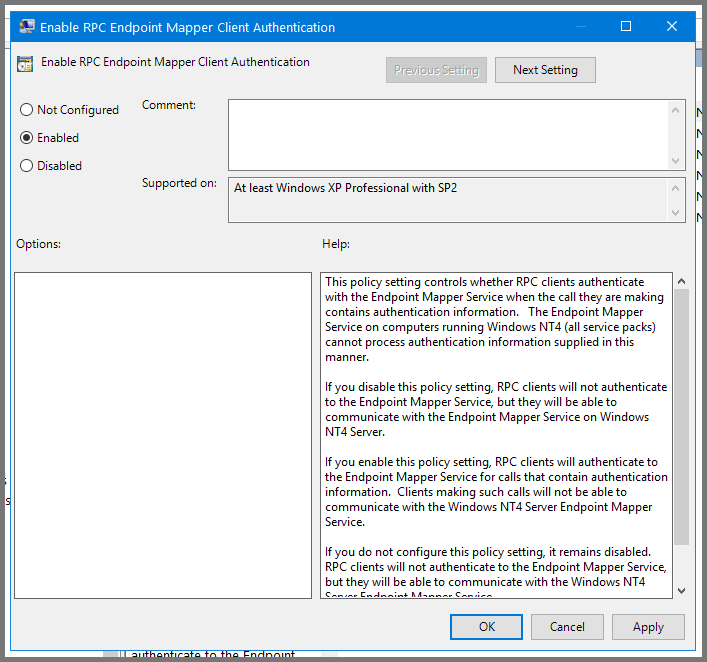
Select “Enable RPC Endpoint Mapper Client Authentication” and click on “Edit policy settings”.
Set the policy to Enabled. Click on Apply then OK. Close Group Policy Management Editor.
Enforce the Domain Policies
Right-click on the Start menu and select Windows PowerShell (Admin).
In the terminal enter the following:
gpupdate /force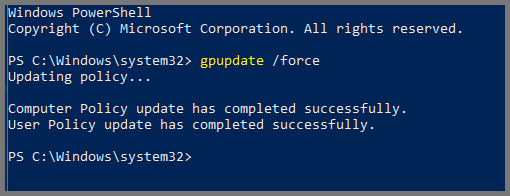
Now whenever a new device joins our AD environment the Group Policies that apply to all the devices will automatically be applied to them. With this, we have completed the Domain Controller setup.
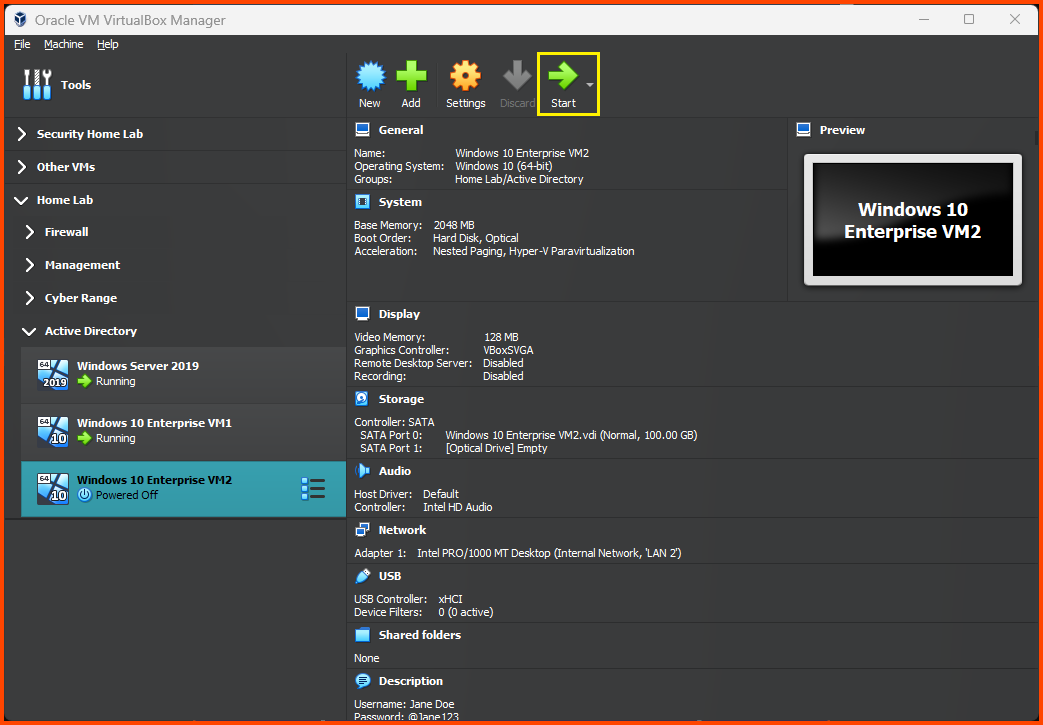
For the rest of the module the DC VM should be left powered on. To use the AD lab DC should be the first VM that is launched.
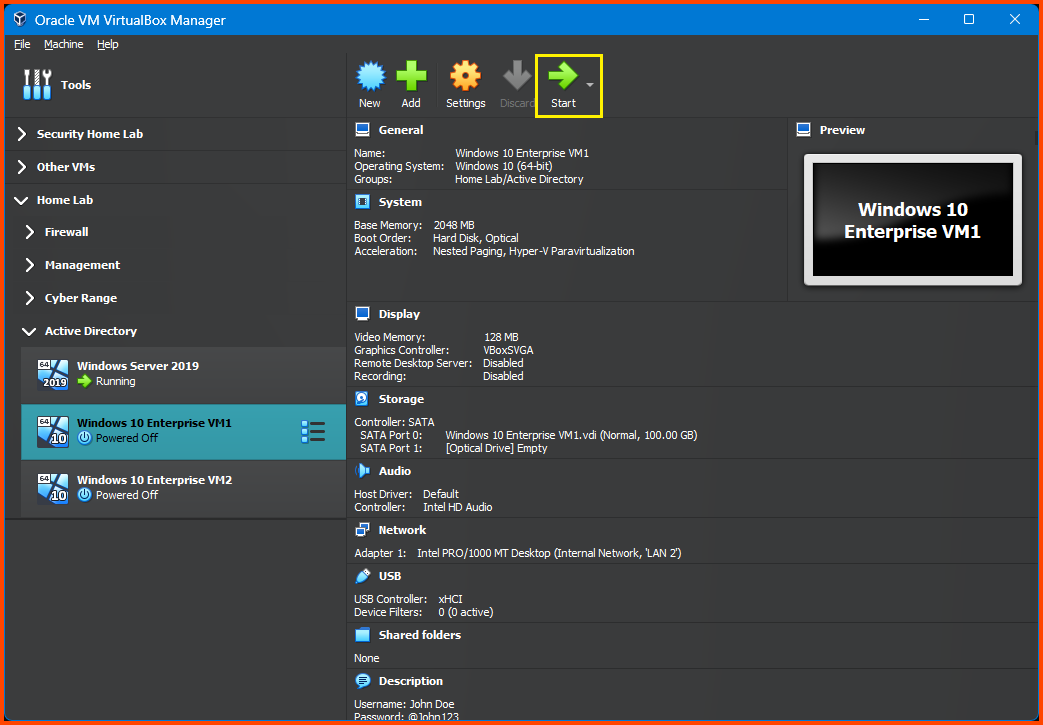
Windows 10 Enterprise VM1 Setup
Select Windows 10 Enterprise VM1 from the sidebar then click on Start.
OS Installation
Click on Next.

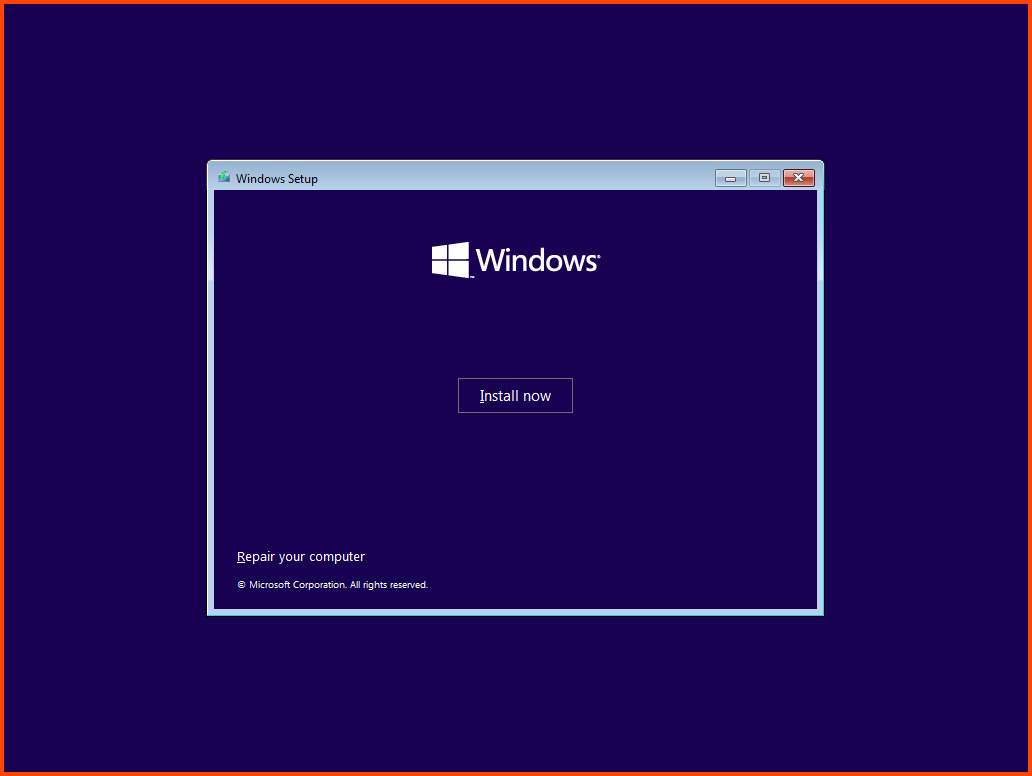
Click on Install now.
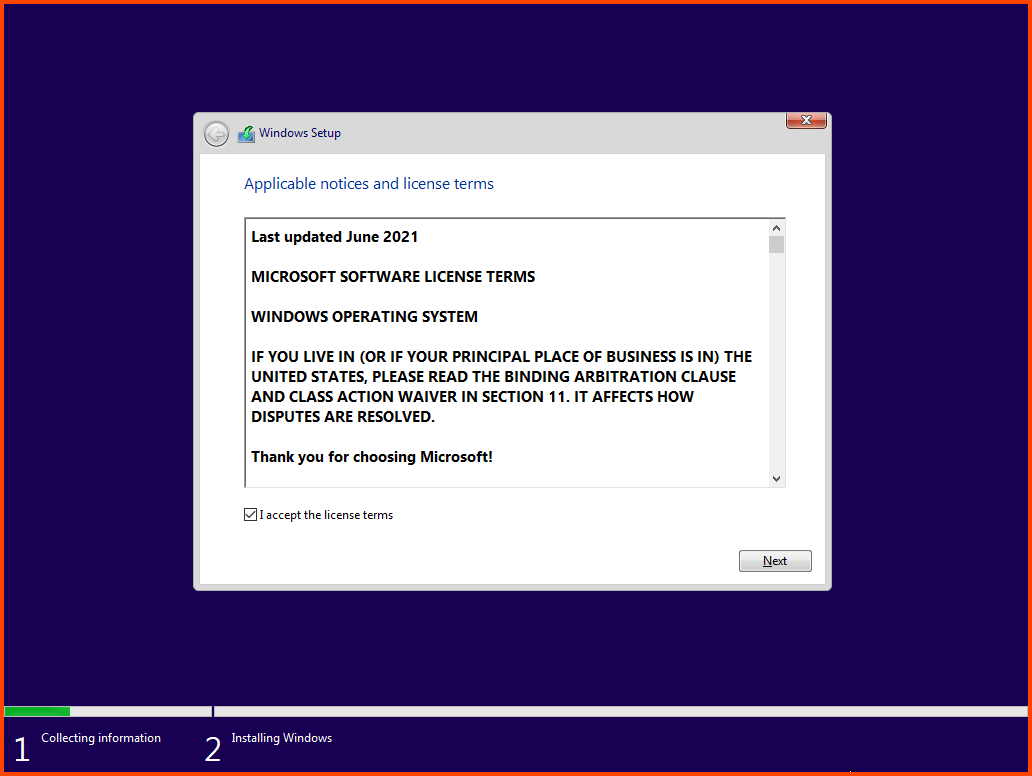
Accept the agreement and then click on Next.
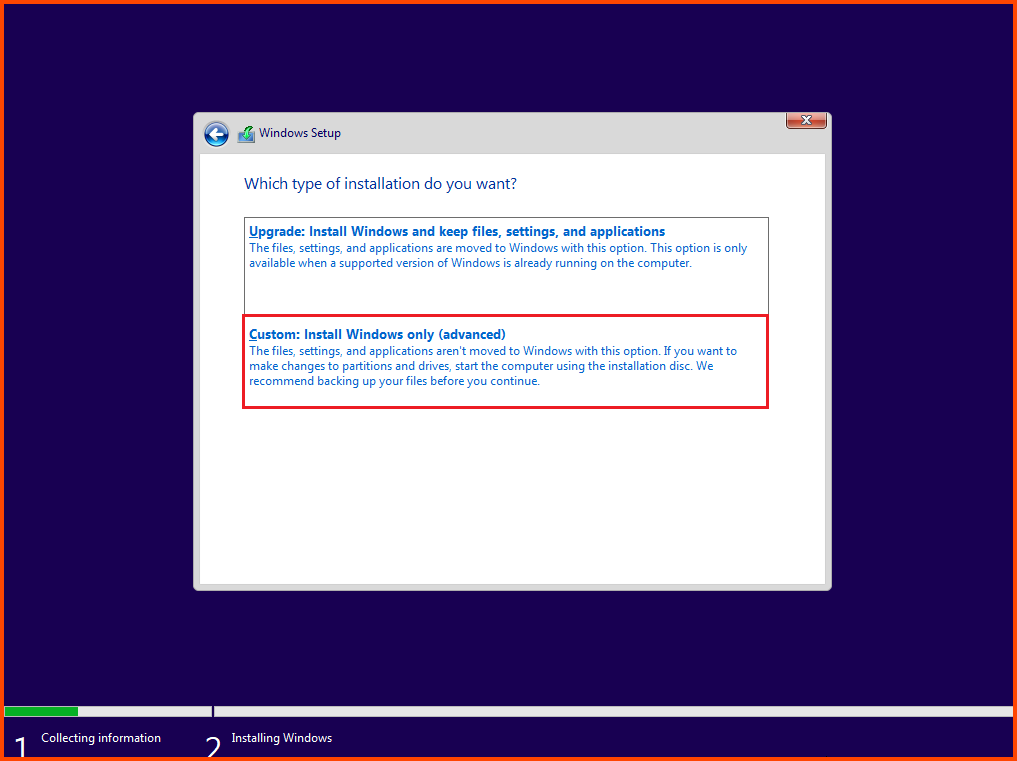
Select “Custom: Install Windows only (advanced)”.
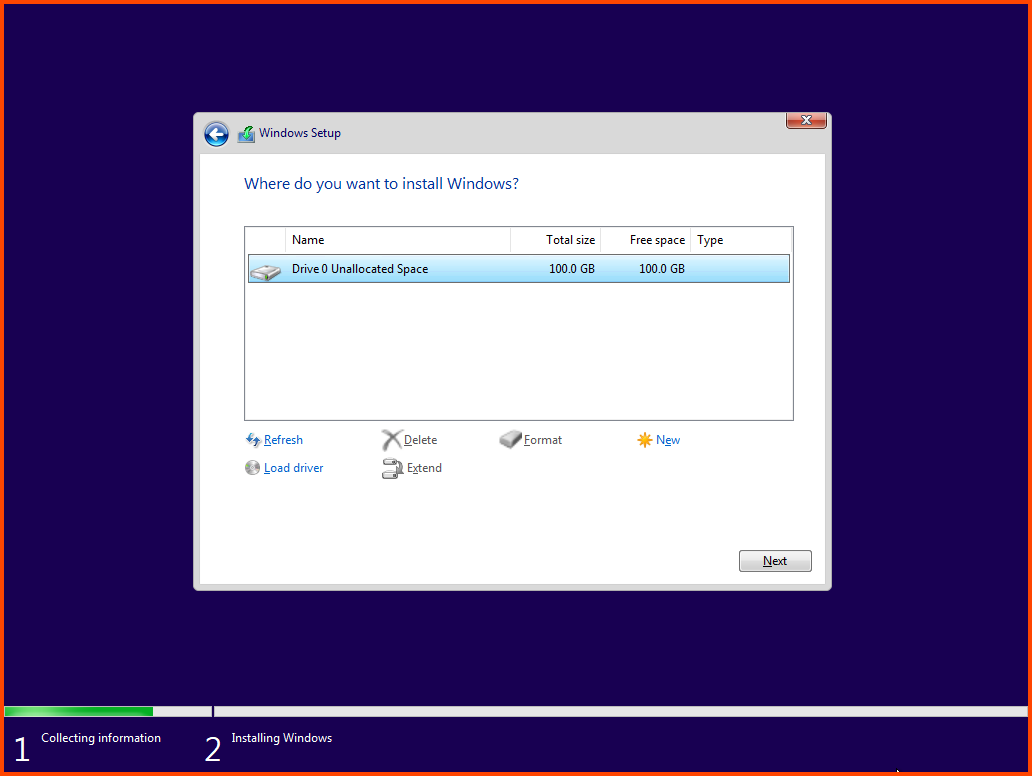
Select Disk 0 and then click on Next.
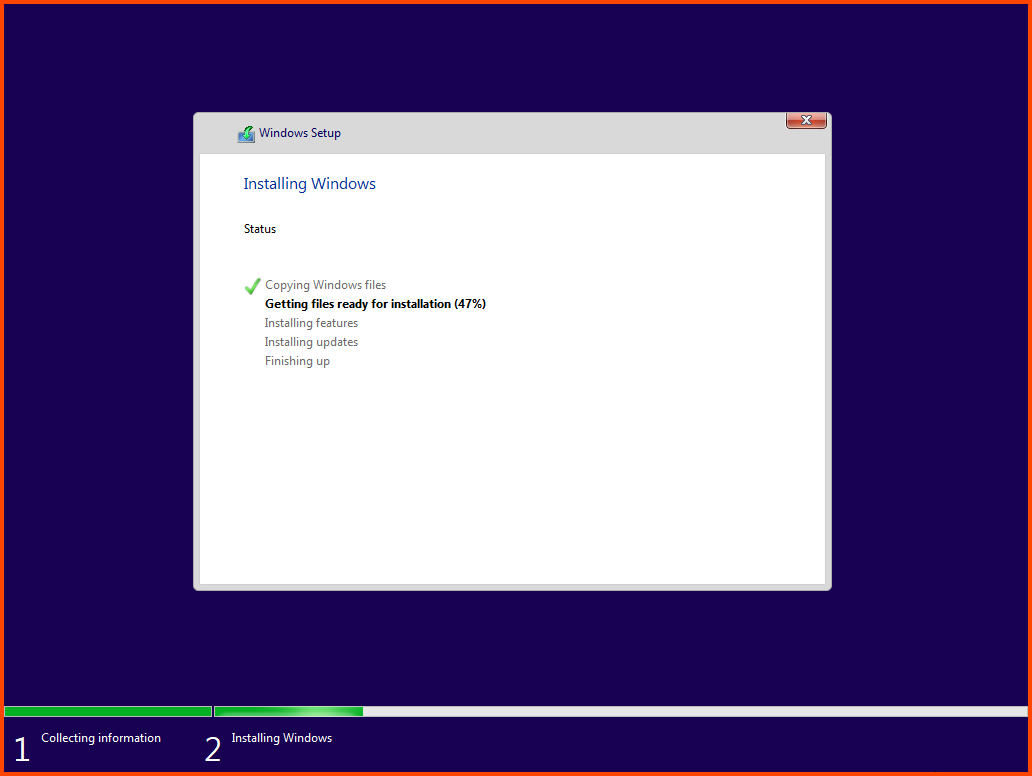
The VM will reboot multiple times during the installation.
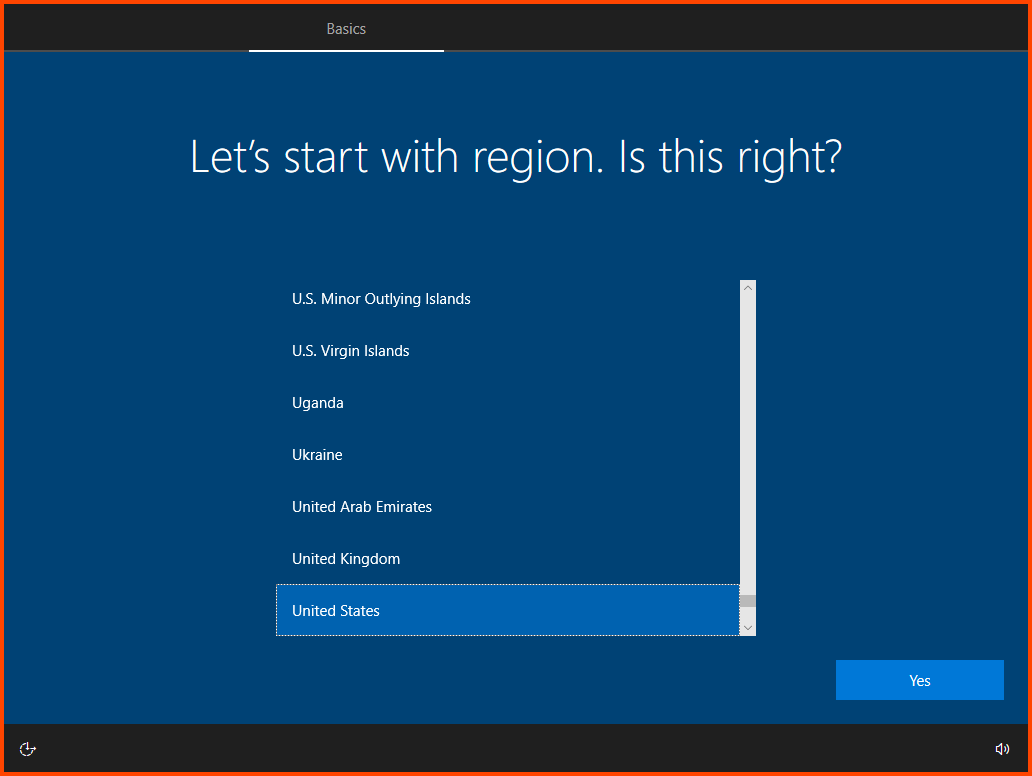
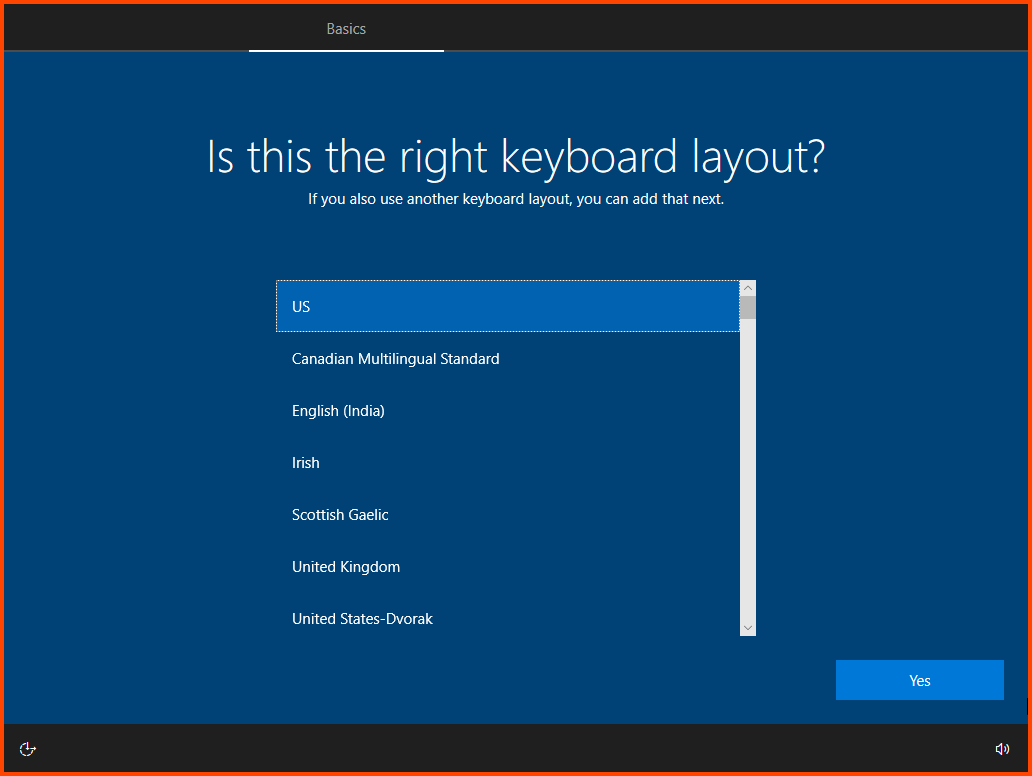
Select your Region and Keyboard Layout.
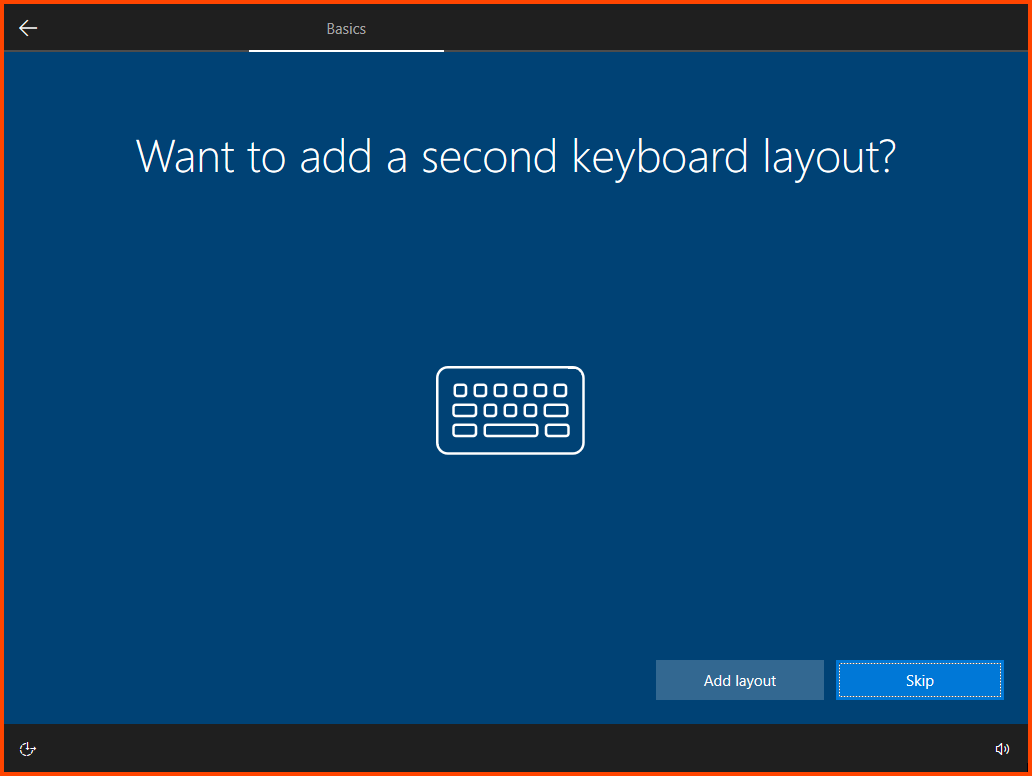
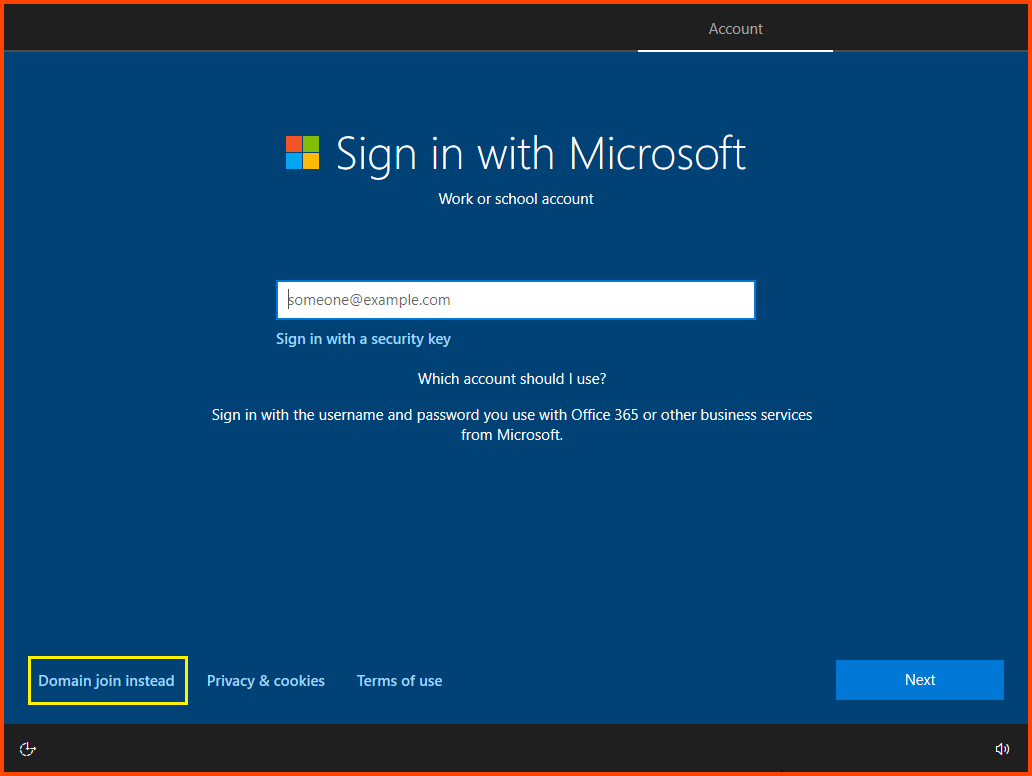
Click on Skip.
Select “Domain join instead”. This will allow us to configure a local account.
Enter a username and click on Next.
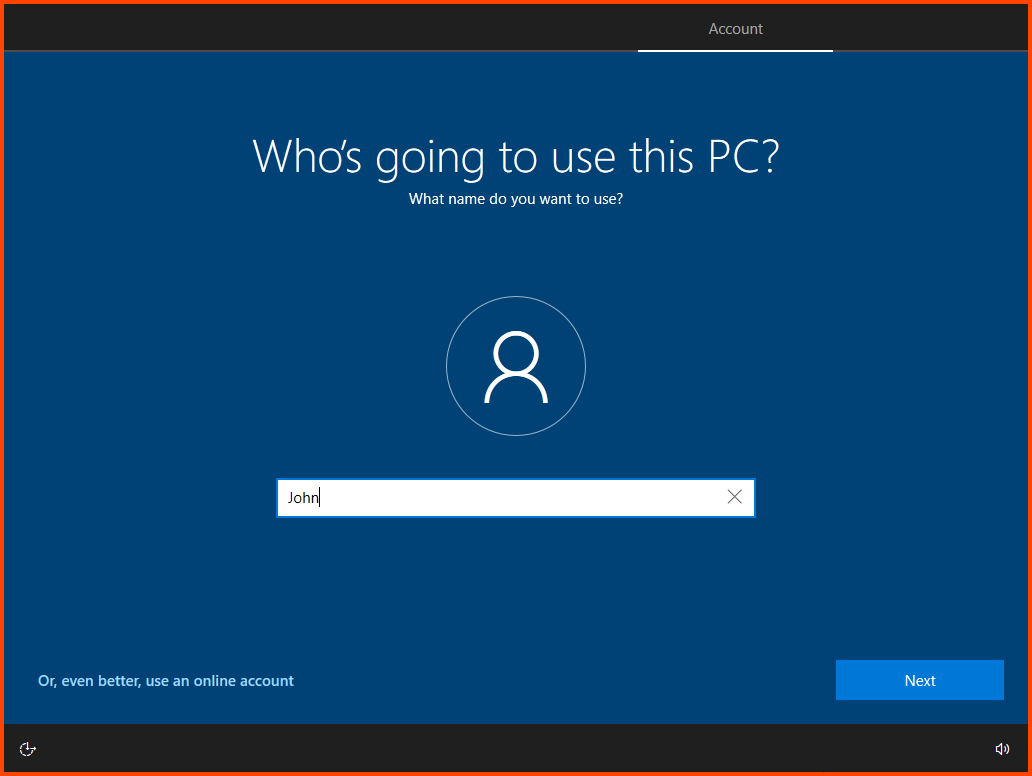
You can provide any username in this step but to avoid confusion I would recommend using the First Name of one of the non-admin users that was created in AD. In my case the two AD users are John Doe and Jane Doe. For this VM I have choose John, when i configure the 2nd VM I will use Jane.
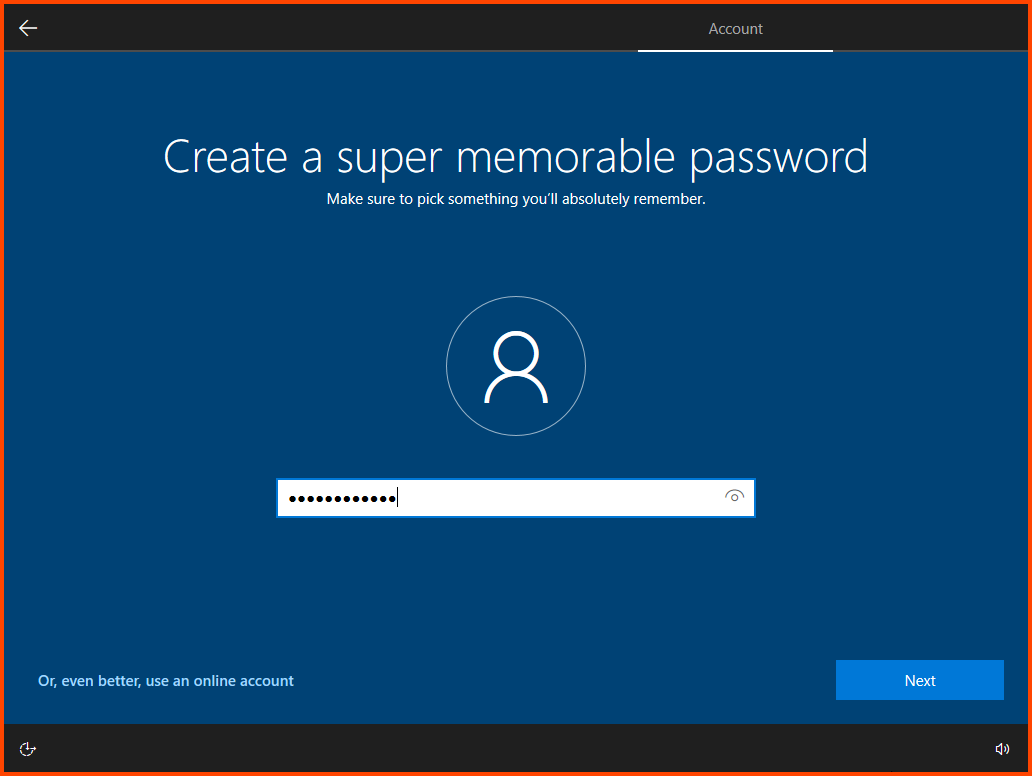
Enter a password and click on Next.
This password can be different from the password that was configured in Active Directory.
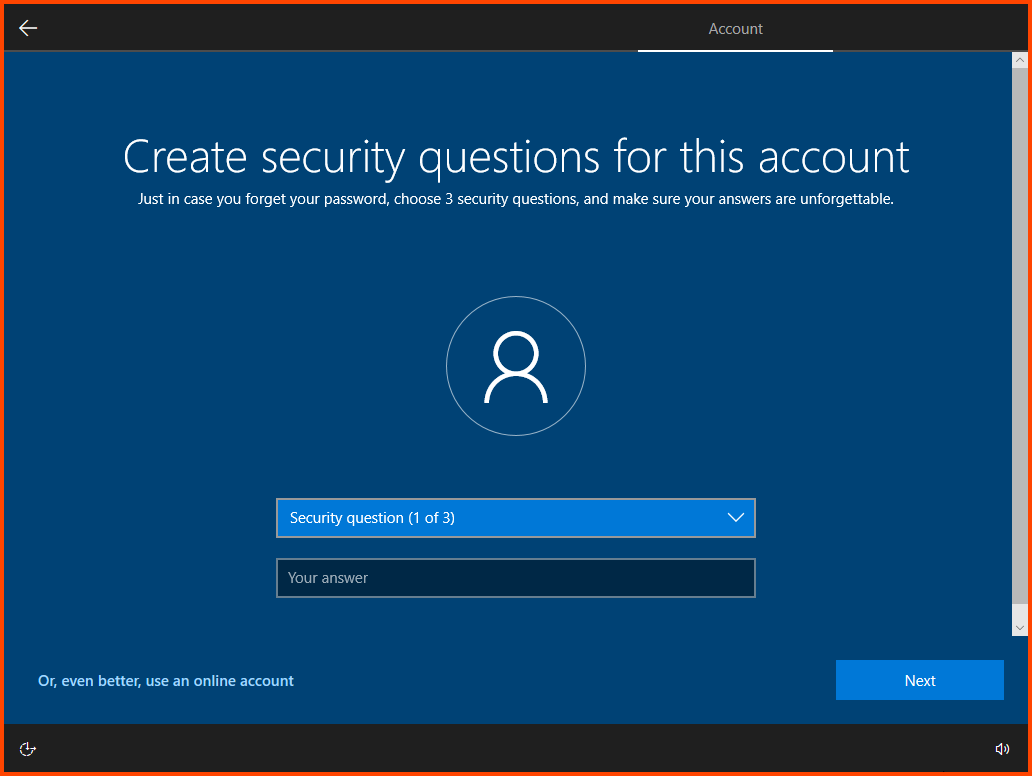
Configure the “Security Questions” for the user. Remember to note down these details in a secure location.
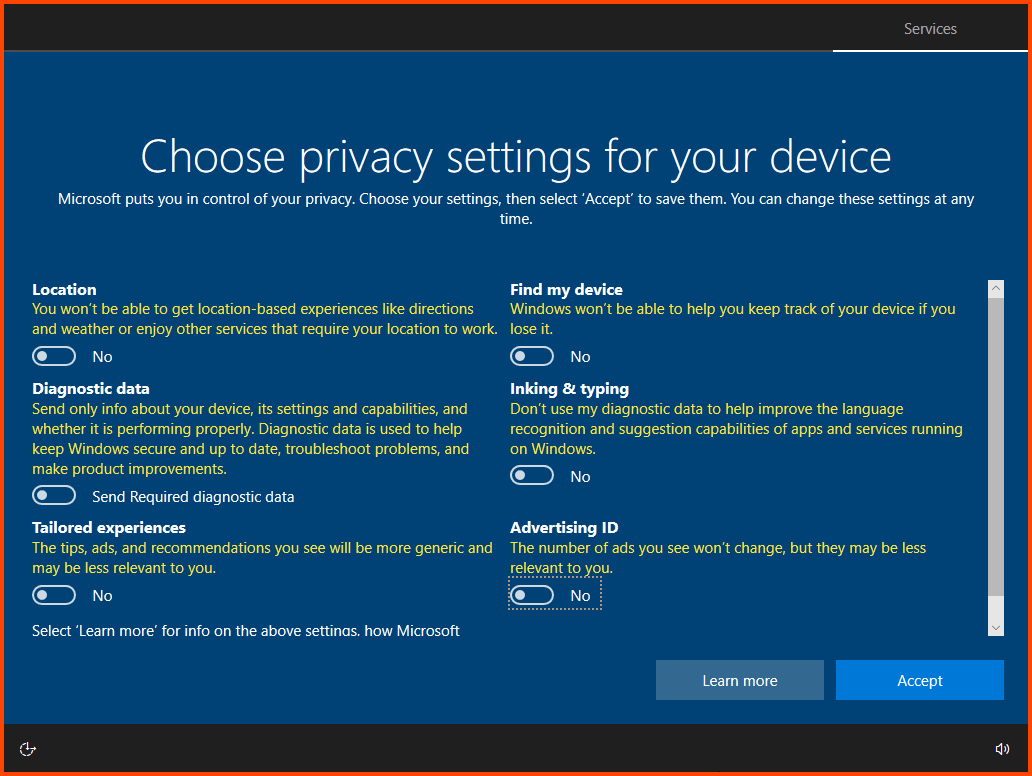
Disable all the features that are shown. Then click on Accept.
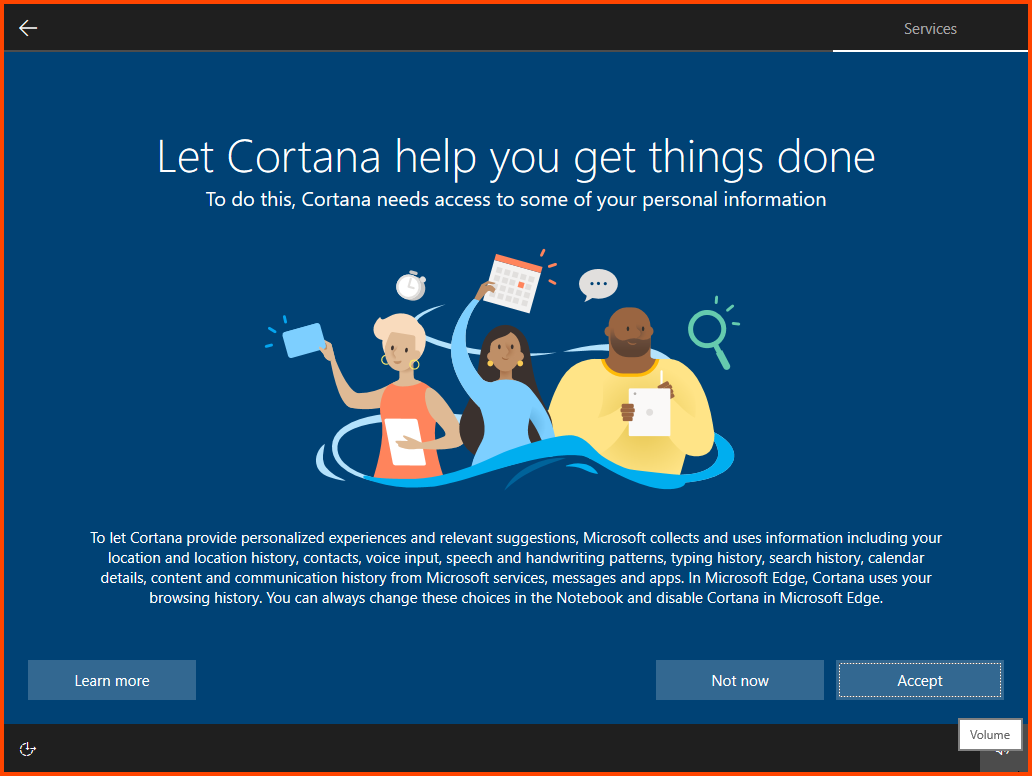
Select Not now.
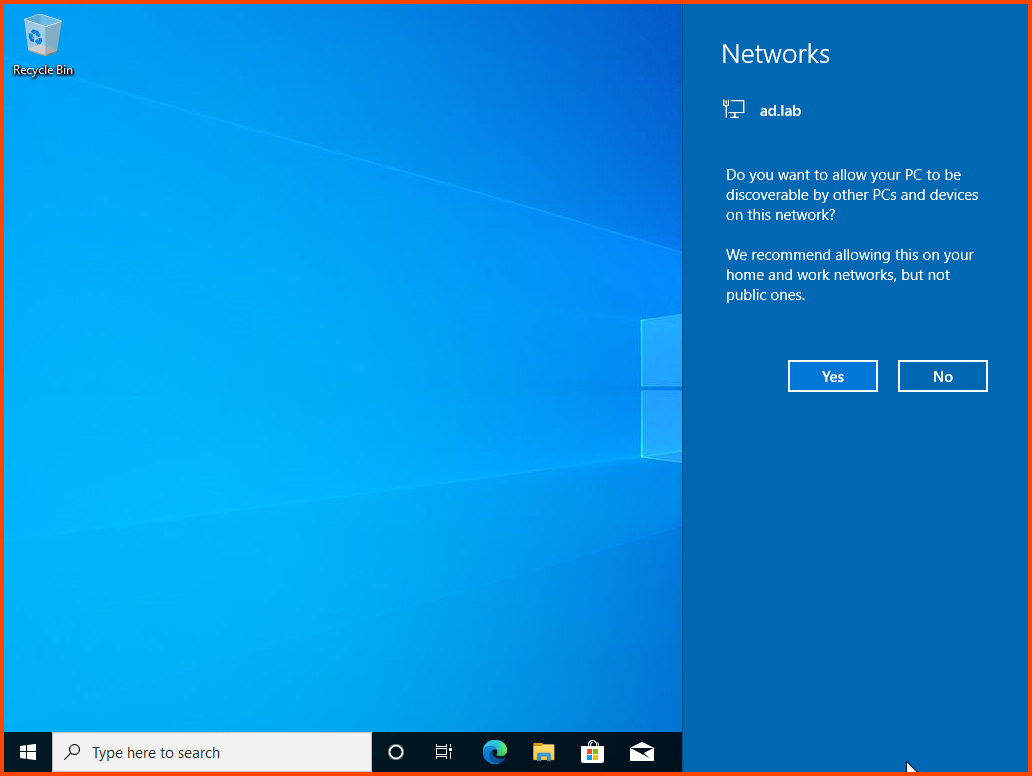
Once on the desktop a prompt to allow internet access should show up click on Yes.
Guest Additions Installation
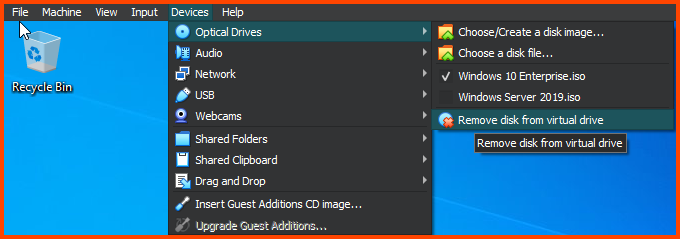
Similar to the Windows 2019 Server VM we need to install Guest Additions to enable Fullscreen mode. From the VM toolbar select Devices -> Remove disk for virtual drive. This will remove the Windows 10 image.
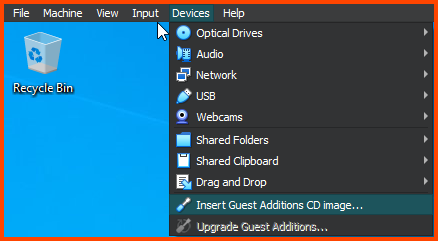
Click on Devices -> Insert Guest Additions CD image.
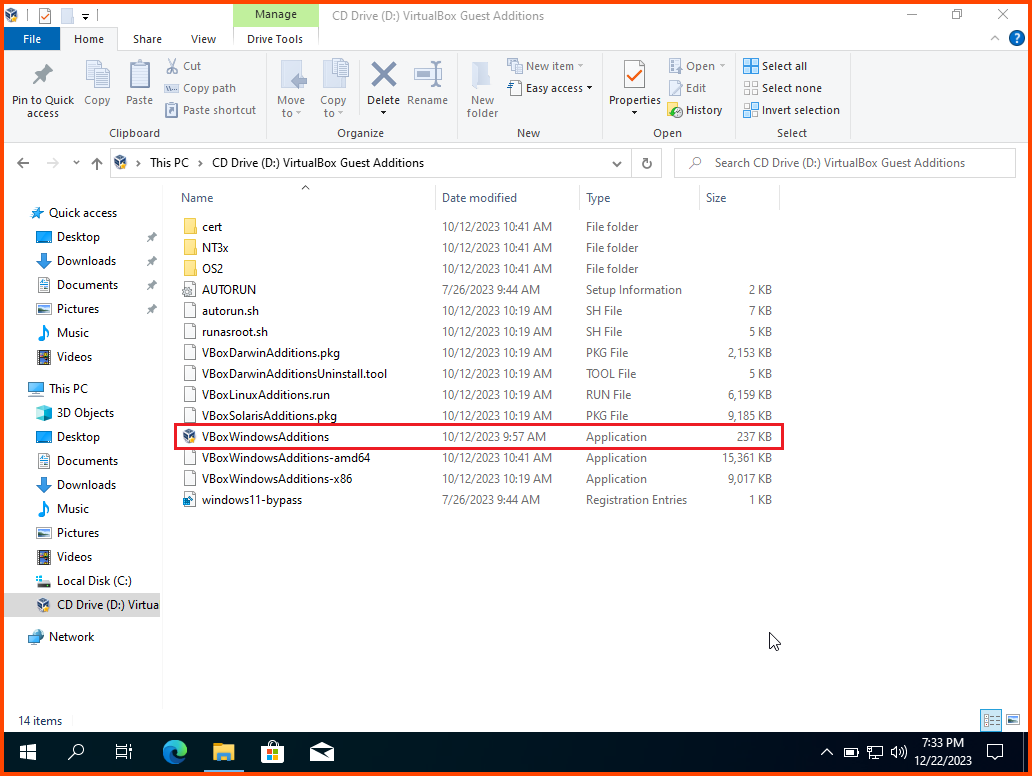
Open File Explorer. Once the disk has loaded from the sidebar select the disk drive. Double-click VBoxWindowsAdditions to start the installer.
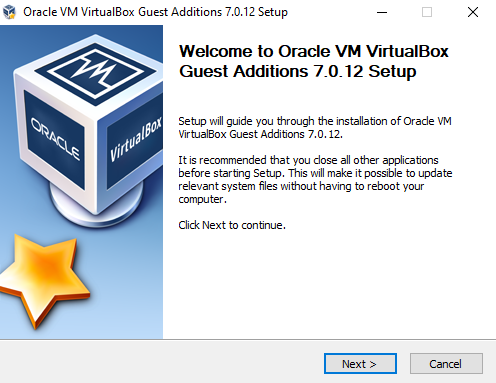
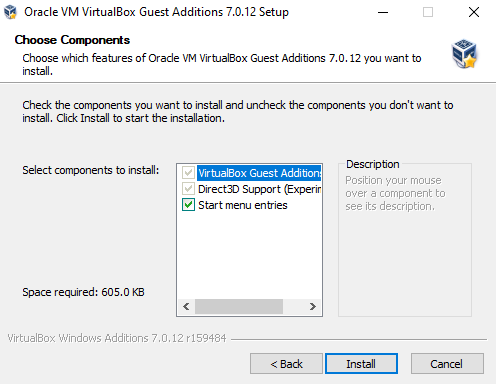
Click Next.
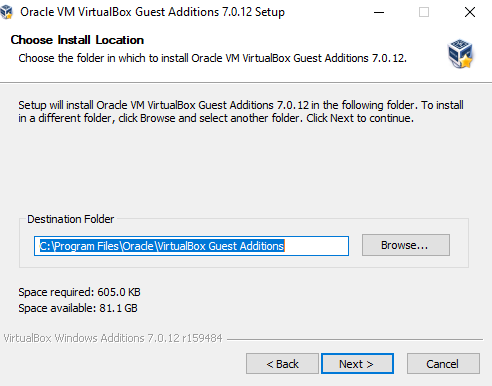
Click Next.
Click on Install to start the installation.
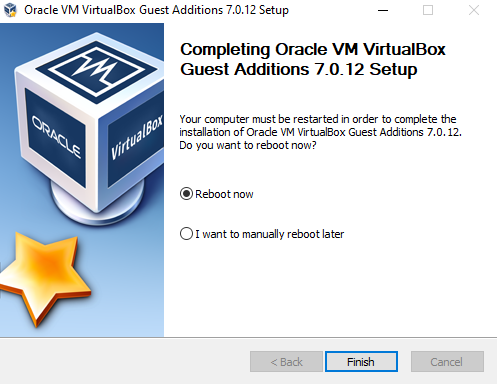
Select “Reboot now” and then click on Finish. The VM will reboot.
Login into the system.

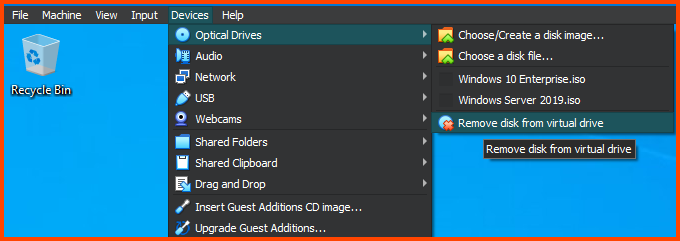
From the toolbar select Optical Devices -> Remove disk from virtual drive to remove the Guest Additions image.
Use the shortcut Right Ctrl+F to enter Fullscreen mode. Use the same key to exit Fullscreen. The VM should automatically scale to fit the window size.
Adding VM1 to Domain
Now we can add this device to the AD domain and log in as an AD user.
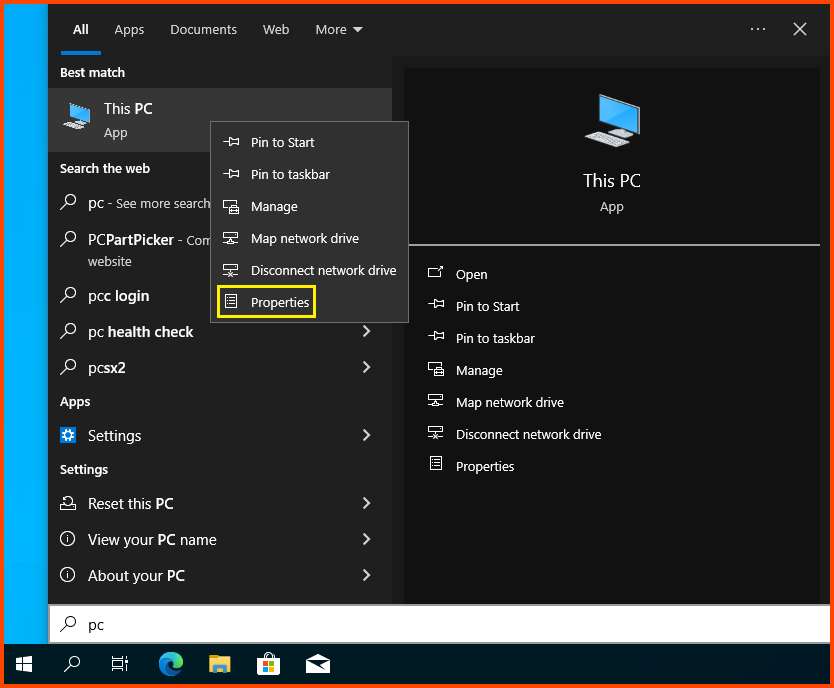
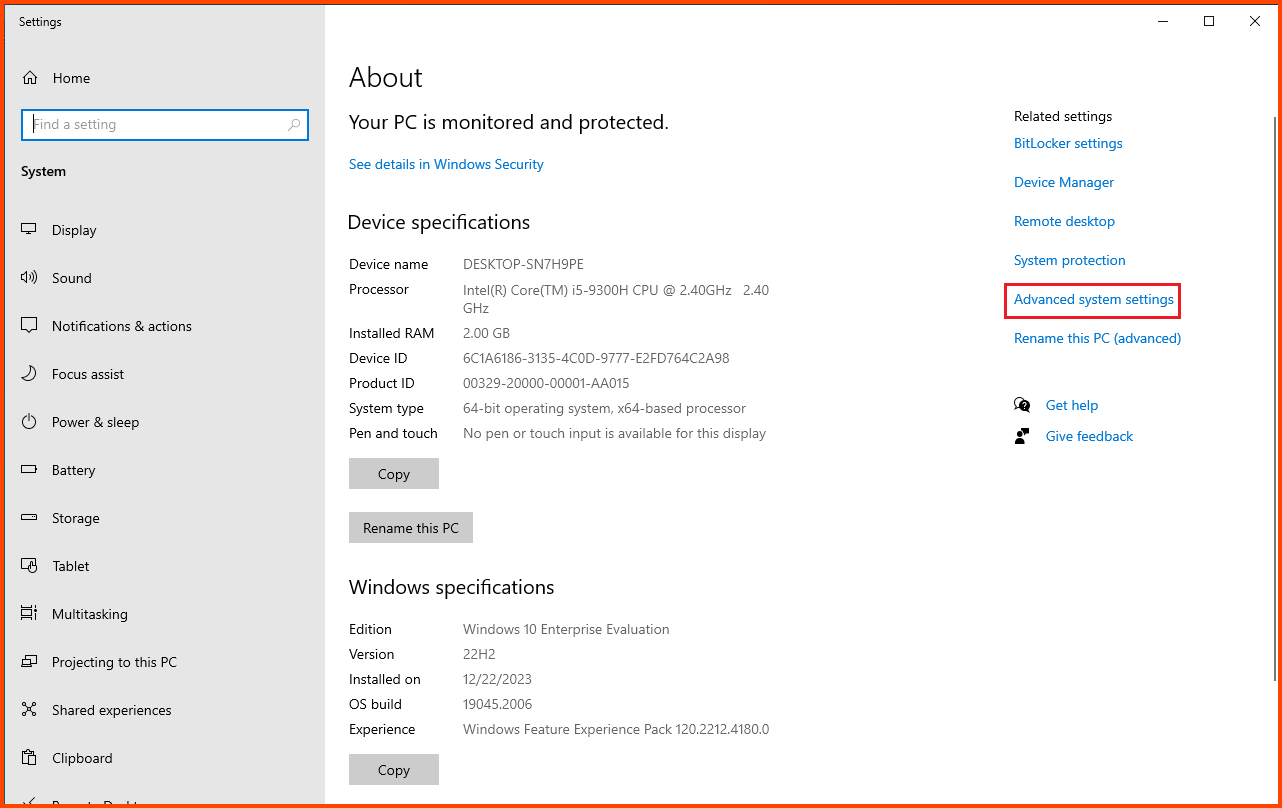
Click on the Search Bar and search for “This PC”. Right-click on it and select Properties.
Click on Advanced system settings.
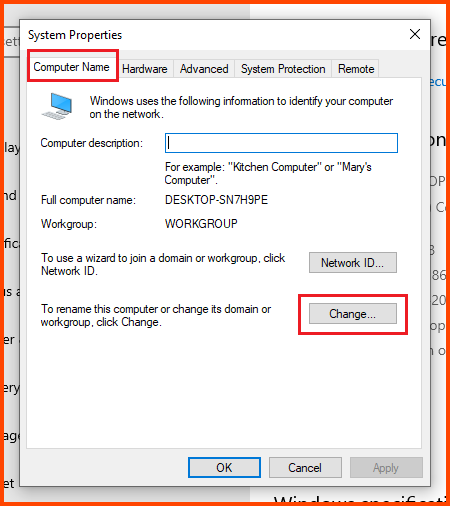
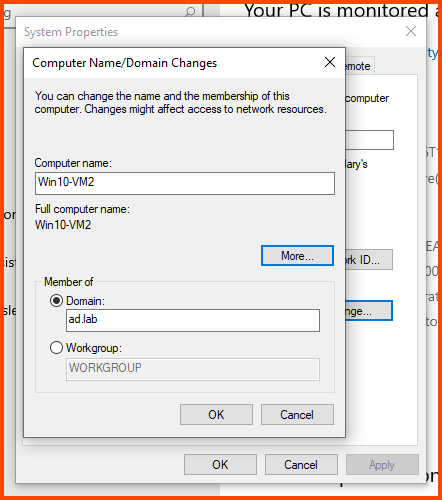
Select the “Computer Name” tab and click on Change.
In the Computer name field enter a name that can be used to easily identify this VM. In the Member of section select Domain and enter the name of the AD domain (in my case ad.lab). Then click on More.

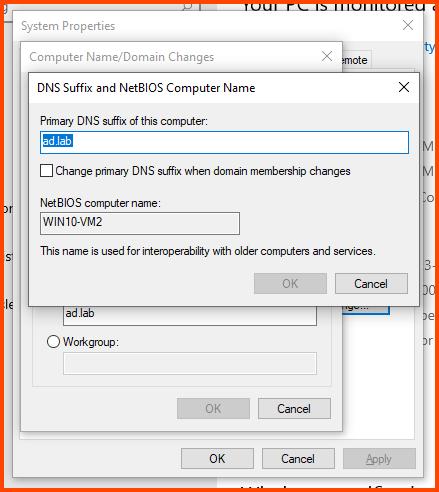
In the “Primary DNS suffix of this computer” field enter the domain name. Click on OK.
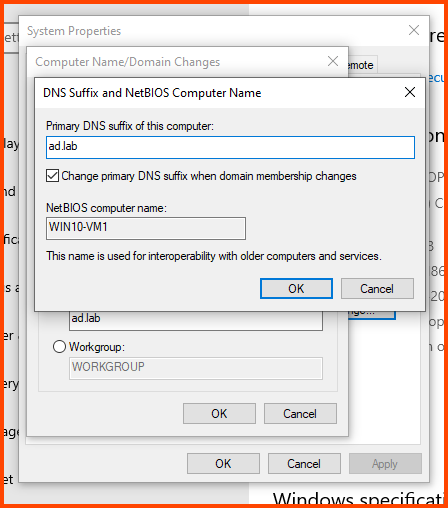
Click on OK.

Now a popup should appear. Enter the login name and password of the Domain Admin and click on OK.
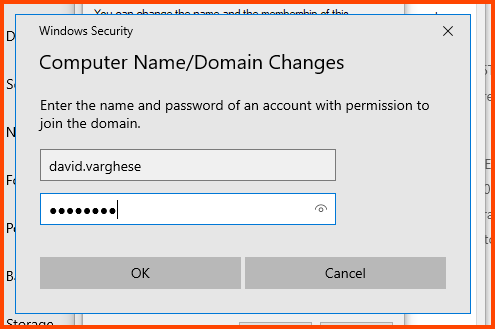
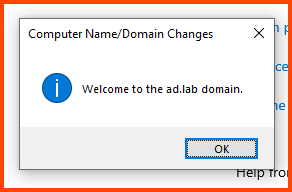
The device will be added to the AD environment. Click on OK.
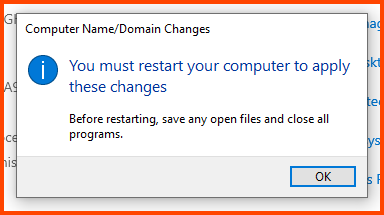
The device needs to be rebooted to apply the domain-specific settings. Click on OK to continue.
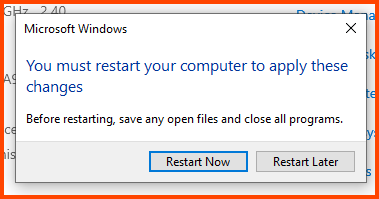
Click on “Restart Now”.
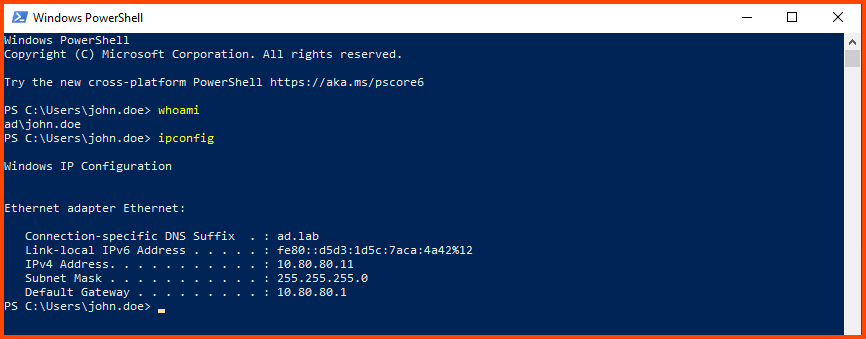
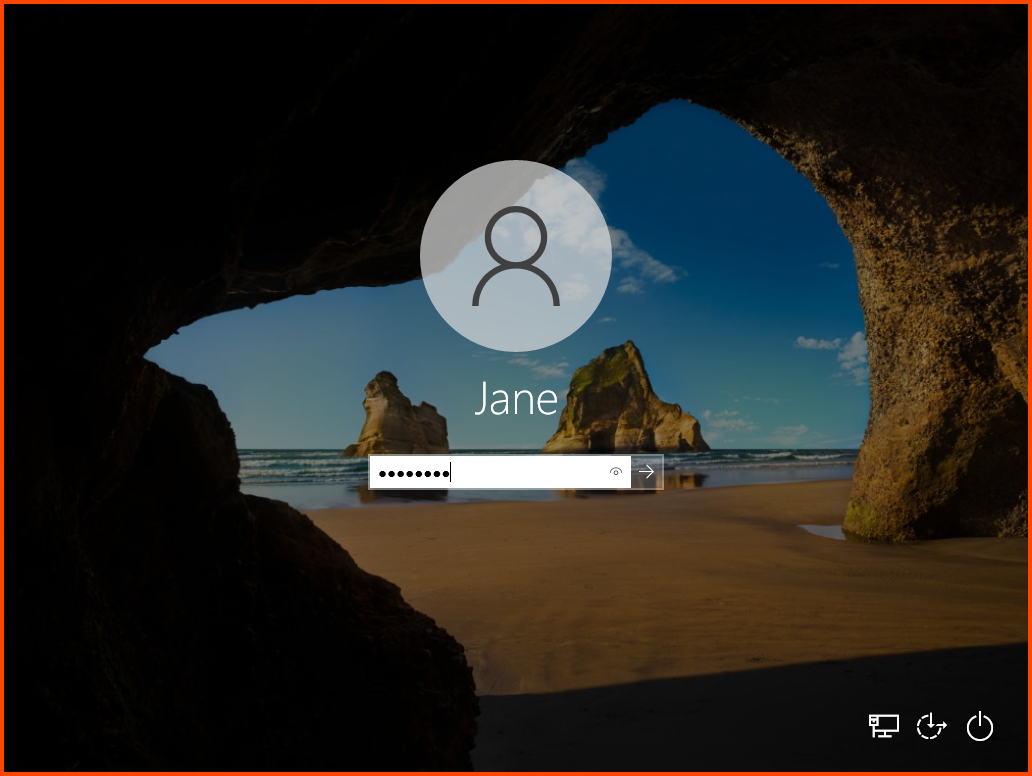
Once on the login screen. Click on “Other user”. Enter the login name and password of the AD user that will use this device and press Enter.

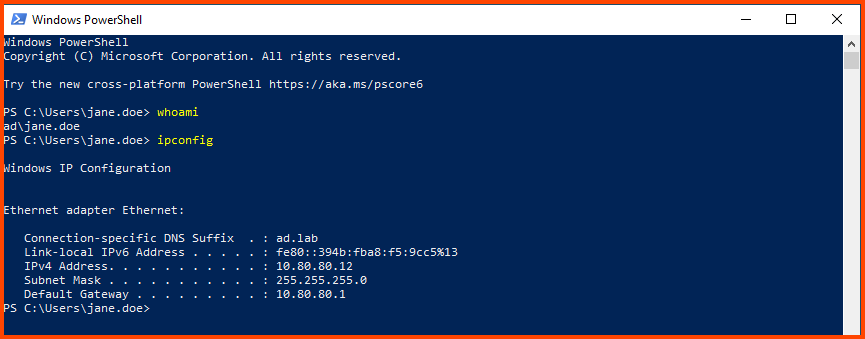
Now we are logged into the system as the AD user. To confirm this we can open PowerShell and run whoami.
Windows 10 Enterprise VM2 Setup
Follow the same steps as above to configure the VM for the second user.
OS Installation
Use the First Name of the second user that was configured in AD.

Guest Additions Installation
Adding VM2 to Domain

Login using the AD credentials of the second AD user.
Appendix
With this, we have completed the setup of the Active Directory lab. To wrap up, in this module we set up 3 VMs. The 1st VM (Windows Server 2019) was configured to be the Domain Controller and the other 2 VMs (Windows 10 Enterprise) were configured as client devices. Additionally, on the DC VM, we enabled DHCP, set up DNS Forwarder, enabled AD Certificate Services and configured Policies to be applied to all devices that are part of the AD environment.
You can delete the Windows Server 2019 ISO file if you do not want to store it for future use. Do not delete the Windows 10 Enterprise ISO just yet as we will require it to setup FlareVM.
DNS & DHCP Verification
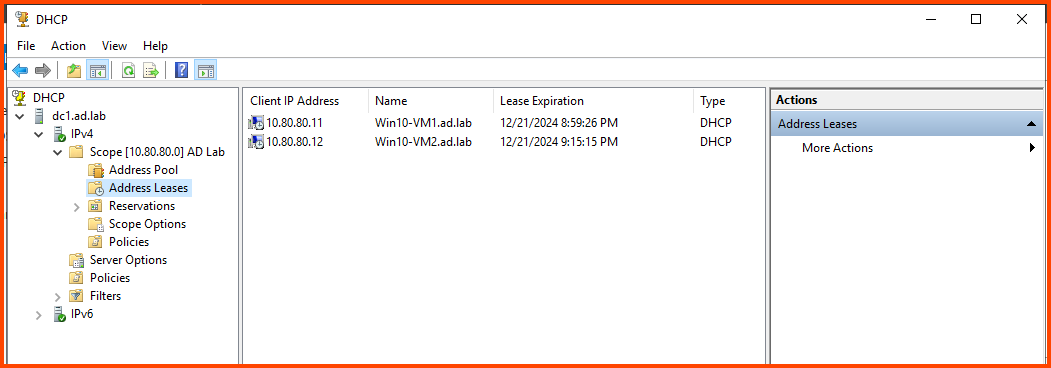
To verify that the client VMs are indeed connected to the AD environment you can open DHCP Manager and compare the IP address shown with the IP address that has been assigned to the VM.
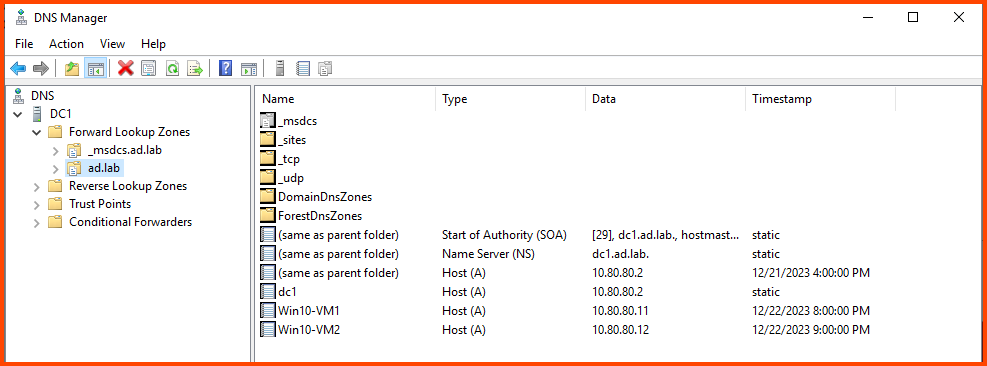
Similarly, we can use DNS Manager to confirm that new DNS entries have been added for the client devices.
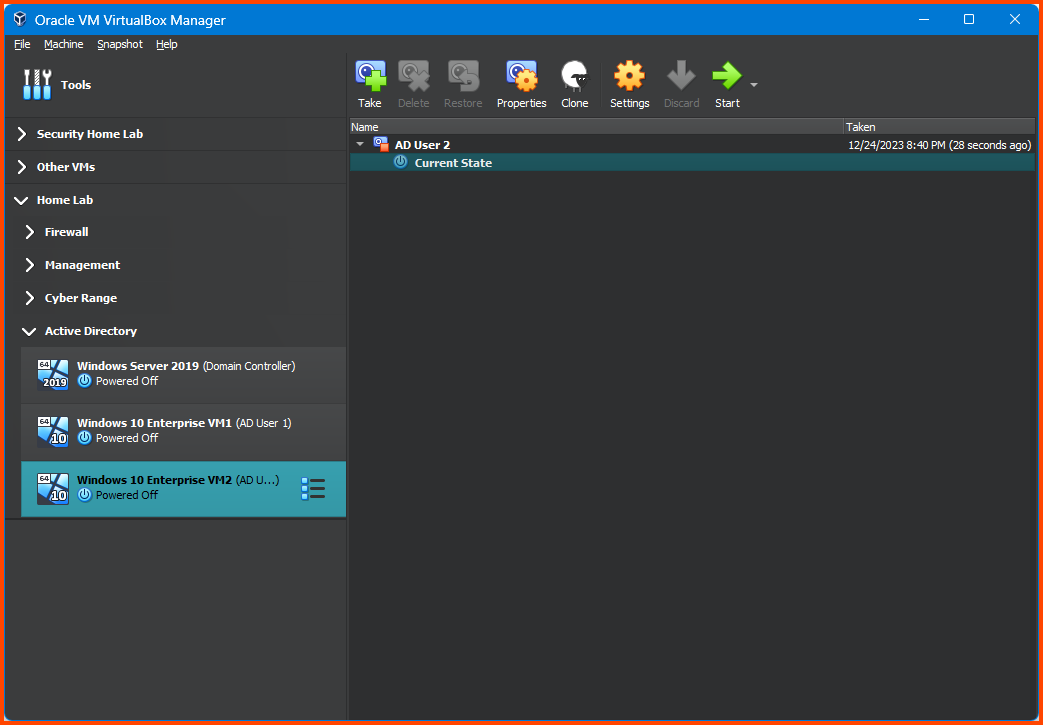
Taking VM Snapshots
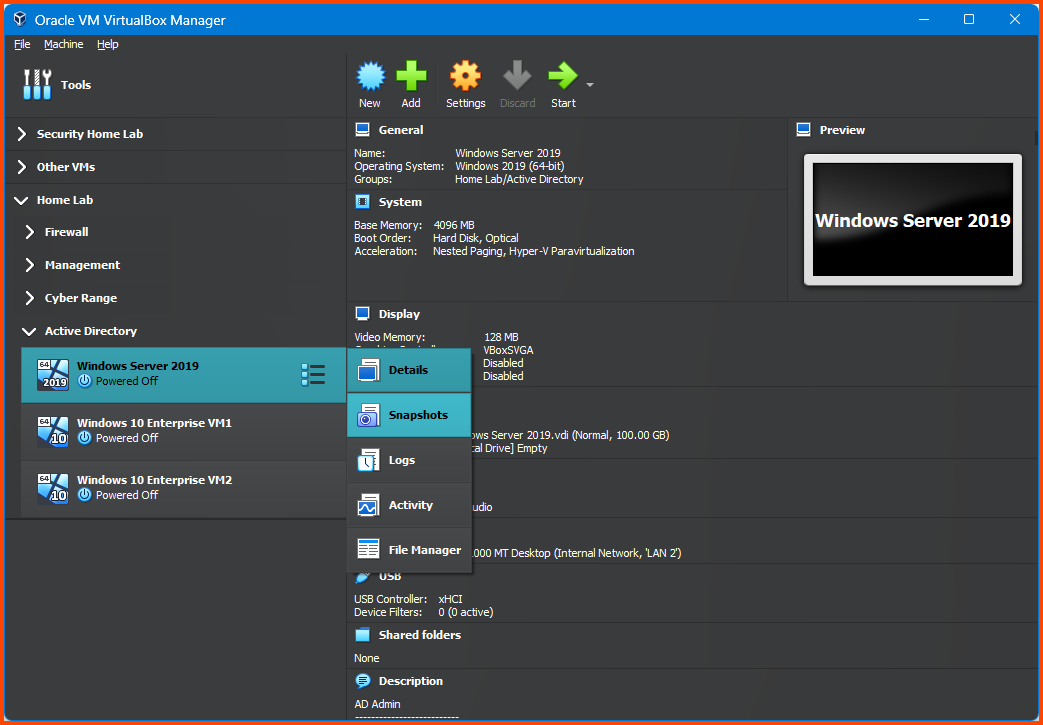
Snapshots can be taken with the VM in a running state but sometimes doing so can cause the VM to behave erratically. So I recommend “Powering off” all the VM before taking its Snapshot.
Select the Windows Server 2019 VM. Click on the “Hamburger menu” and select Snapshots from the dropdown menu.
Click on Take from the toolbar.
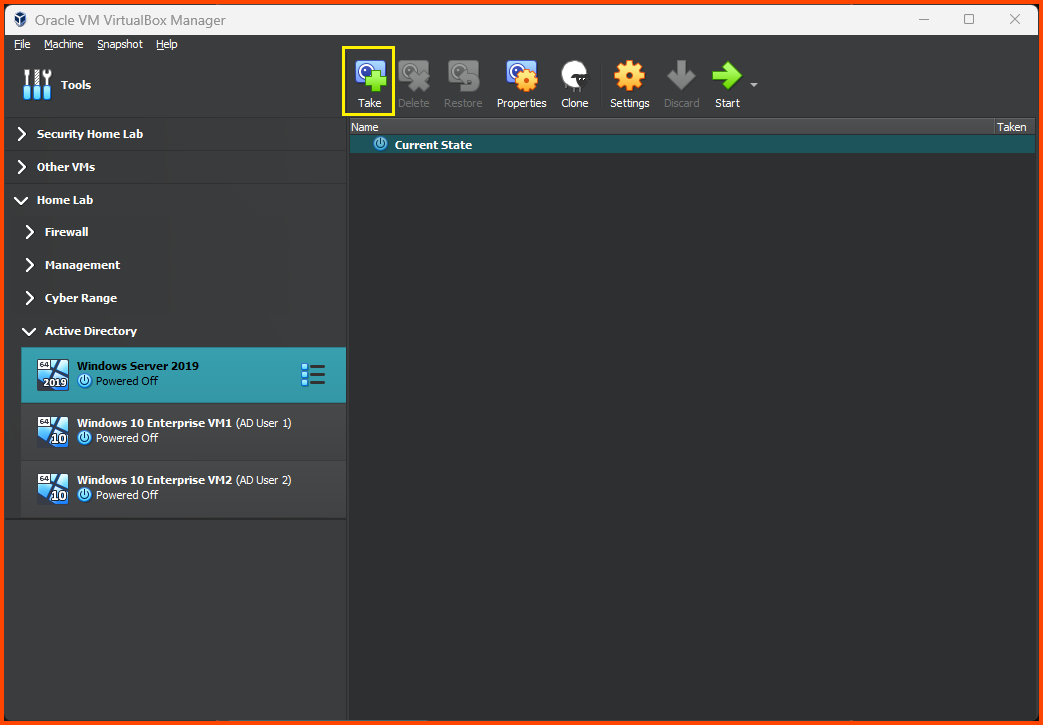
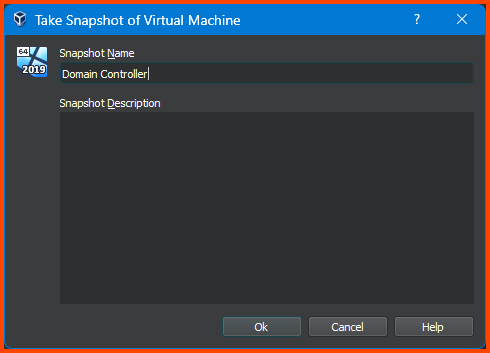
Give the snapshot a descriptive name and click on OK.
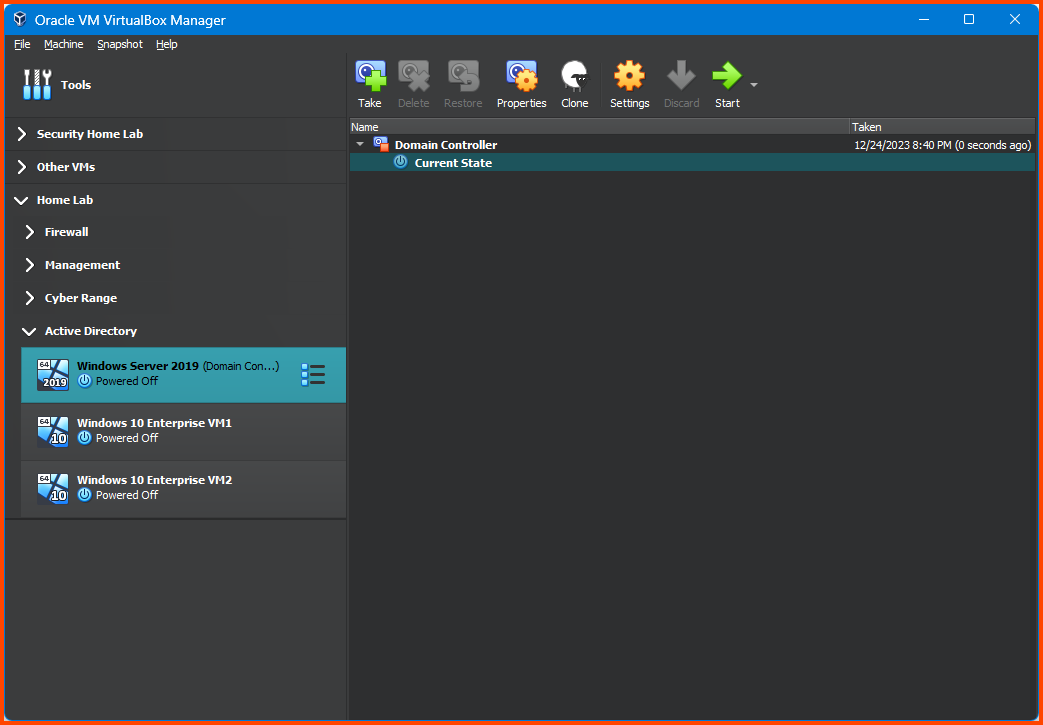
This will create a new Snapshot from the VM.
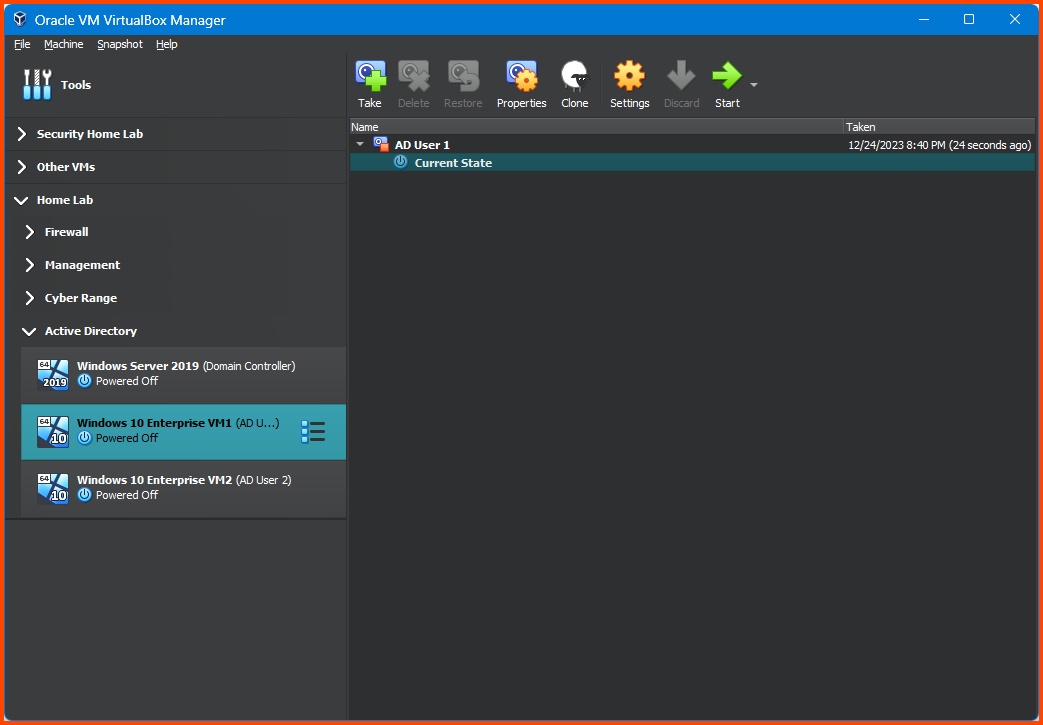
Select the Windows 10 Enterprise VM1 from the sidebar and follow the above steps to create a Snapshot.
Follow the same steps to create Snapshot for Windows 10 Enterprise VM2.
Right-click on the hamburger menu and select “Details” to return to the VM configuration page.
Alternative AD Setup
Many other features and services can enabled on the DC. Refer to the below links for variations on the installation process.
- How to Setup a Basic Home Lab Running Active Directory — YouTube
- How to Build an Active Directory Hacking Lab — YouTube
Hacking AD Lab
There any numerous attacks that can be performed against an AD environment. Refer to the below links to see some of the commonly used hacks.
In the next module, we will begin the setup of the Malware Analysis Lab.
(Previous) Part 6: Active Directory Lab Setup - Part 1
(Next) Part 8: Malware Analysis Lab Setup
If you liked what you just read consider:
- Clapping for the article (can clap up to 50 times)
- Drop a comment showing your support
- Sharing the article with others who will find it useful
- Follow me on Medium, LinkedIn and GitHub
- View my posts on Source Code

